
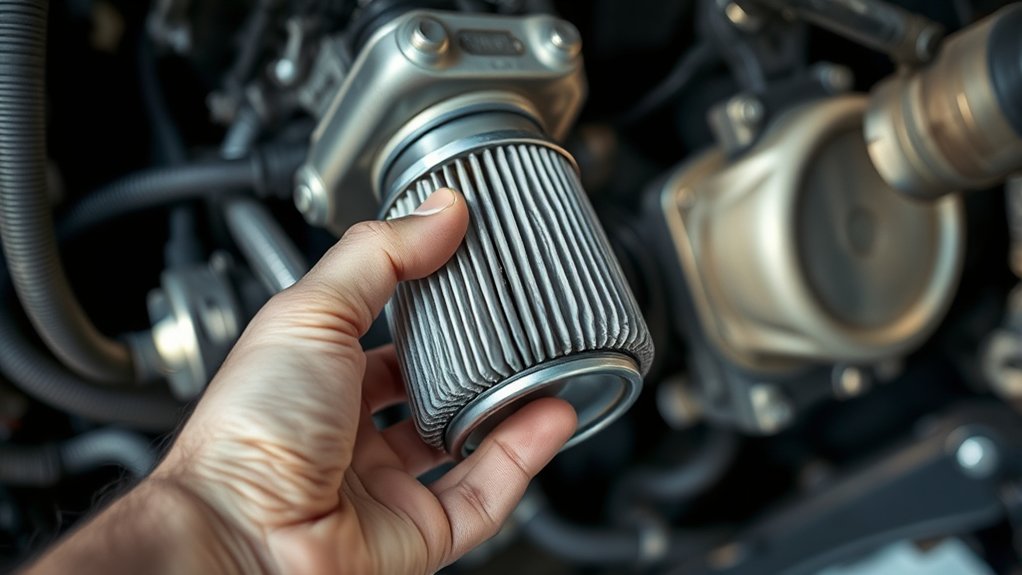
Which Way to Turn Oil Filter
You need to know which way to turn an oil filter, which direction prevents damage, and which method guarantees a proper seal. Understanding this is crucial to avoid common issues during maintenance.
Most filters tighten clockwise and loosen counterclockwise, but exceptions with reverse threading exist. Missteps can cause leaks or stripped threads, so understanding threading types, markings, and proper torque is critical.
Before you grab a wrench, consider how these factors impact both installation and removal. Proper technique ensures your engine stays protected and your filter functions correctly.
Key Takeaways
- Turn oil filters counterclockwise to remove and clockwise to install, following standard thread orientation.
- Always check for directional arrows or markings on the filter before turning.
- Use proper tools like strap wrenches to ensure grip and prevent damage during removal.
- Hand-tighten the filter until the gasket contacts the surface, then tighten to manufacturer torque specs.
- Avoid myths about alternative turning directions to prevent thread damage and oil leaks.
How Do You Tell Which Way to Turn an Oil Filter?
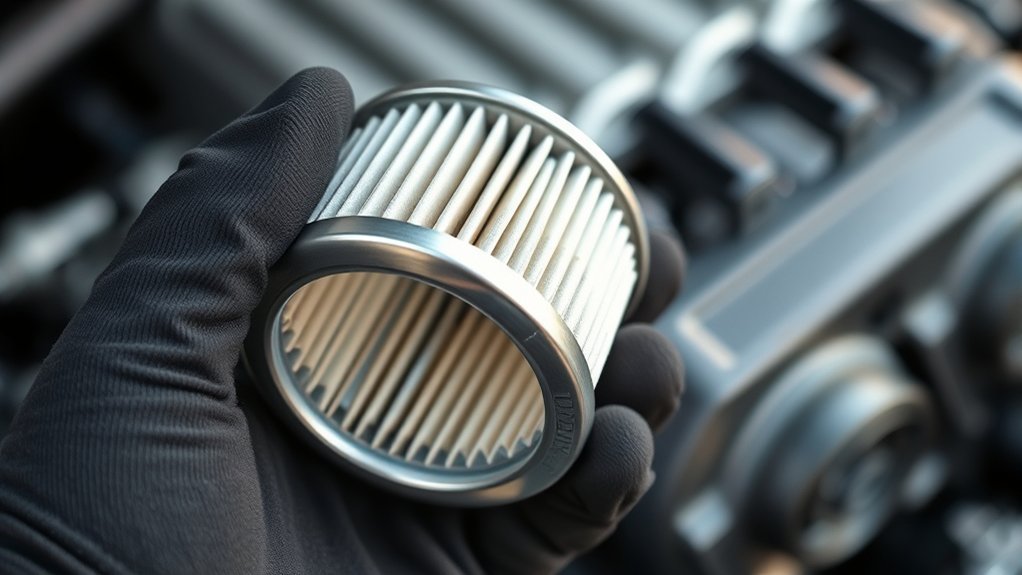
How do you tell which way to turn an oil filter? The standard procedure is to turn it counterclockwise to remove and clockwise to install. This direction follows the thread orientation on virtually all oil filters.
Don’t fall for oil filter myths suggesting alternative turning directions; these claims lack technical basis. To confirm, inspect the filter’s threading and any directional markings.
When reinstalling, adhere strictly to the manufacturer’s torque specs to avoid overtightening, which can damage the filter or cause leaks. Using a torque wrench ensures you apply the correct force, enhancing seal integrity.
Why Does Turning Direction Matter for Oil Filters?
You need to turn the oil filter in the correct direction to guarantee proper installation and avoid damaging the seal. Incorrect turning can cause oil leaks, which compromise engine performance.
Following the right direction also helps maintain the filter’s longevity and effectiveness.
Proper Installation Importance
Why does the direction you turn an oil filter during installation matter? Proper installation ensures the filter seats correctly, maintaining oil compatibility and system integrity. Turning it the wrong way can damage the seal or threads, compromising performance and risking engine damage.
Also, manufacturers design filters considering shipping considerations; incorrect handling can affect filter condition before use.
When installing, keep these points in mind:
- Align threads precisely to avoid cross-threading
- Tighten by hand until the gasket contacts the mounting surface
- Follow manufacturer torque specifications to secure the seal
Preventing Oil Leaks
Because oil filters rely on a secure seal to prevent leaks, turning the filter in the wrong direction can damage or dislodge the gasket, leading to oil seepage. You must tighten the filter clockwise to compress the gasket correctly against the mounting surface.
Incorrect turning loosens this seal, allowing oil, whose viscosity varies with oil grade, to escape. Lower oil viscosity or improper oil grade increases leak risk, as thinner oil passes easier through compromised seals.
Additionally, the filter’s seal material is designed to withstand specific oil grades and their thermal properties; twisting the filter the wrong way can deform or tear the gasket, exacerbating leaks. Always follow manufacturer instructions on turning direction to maintain a proper seal, ensuring oil containment regardless of oil viscosity or grade.
Ensuring Filter Longevity
A correct turning direction preserves the oil filter’s structural integrity and extends its service life. When you follow proper oil filtration maintenance basics, you reduce the risk of damaging the filter’s sealing gasket or collapsing its internal components.
Turning the filter the wrong way can cause leaks or compromised filtration efficiency.
To ensure filter longevity, keep these points in mind:
- Always loosen and tighten the filter as specified by the manufacturer’s instructions.
- Apply a thin layer of clean oil to the gasket before installation to maintain a secure seal.
- Avoid overtightening, which stresses the filter housing and reduces its durability.
Adhering to these steps maintains ideal oil filtration performance and prolongs filter service intervals, saving you time and preventing premature replacements.
What Are the Different Oil Filter Threads and Rotation Types?
You’ll encounter various oil filter thread types, including standard and metric sizes, each designed for specific engines.
Filters typically rotate clockwise to tighten and counterclockwise to loosen, but some models use reverse threading. Understanding these differences ensures you apply the correct turning direction and avoid damaging the filter or engine.
Common Thread Types
How do oil filters connect securely to engines? They rely on specific common thread types designed for compatibility and sealing. Understanding these threads helps you select the right filter and avoid leaks or damage.
The two main thread standards are:
- Unified National Fine (UNF): Common in U.S. vehicles, known for fine pitch and durability.
- Metric Threads: Widely used in European and Asian models, measured in millimeters.
- British Standard Pipe (BSP): Less common, found in some industrial engines.
Each thread type pairs with specific rotation types to ensure proper engagement and sealing. Recognizing the common thread and rotation types prevents cross-threading and guarantees a tight fit, essential for engine protection and filter performance.
Always check your vehicle’s specifications before installation.
Filter Rotation Directions
Why does filter rotation direction matter when choosing an oil filter? It directly impacts proper sealing and ease of removal during engine maintenance.
Most oil filters rotate clockwise to tighten and counterclockwise to loosen, but some vehicles use reverse-threaded filters requiring opposite rotation. Using the wrong filter or misunderstanding its rotation can cause improper torque, leading to leaks that compromise oil freshness and engine protection.
Thread types and rotation directions must match manufacturer specifications to maintain a secure fit and prevent cross-threading. During routine oil changes, knowing the correct rotation ensures you don’t damage filter threads or the engine mount.
Always verify your vehicle’s requirements to keep oil fresh and maintain engine integrity, optimizing performance and longevity.
How to Decode Oil Filter Symbols and Labels
Where do you start when faced with the array of symbols and labels on an oil filter? Decoding these filter symbols is crucial for a successful oil change. First, identify the directional arrows indicating which way to turn the filter.
Next, check for pressure ratings to ensure compatibility with your engine. Lastly, note any certification marks, like API or ISO, confirming filter quality and performance.
- Directional arrows guide installation and removal.
- Pressure ratings ensure the filter handles your engine’s oil pressure.
- Certification marks verify compliance with industry standards.
Understanding these filter symbols lets you avoid mistakes, ensuring a proper oil change and protecting your engine. Always read the label carefully before proceeding.
Tools That Make Removing Oil Filters Easier
You’ll find several common tools designed to remove oil filters, including strap wrenches, cap wrenches, and pliers. Using specialized tools ensures a secure grip and prevents damage to the filter or housing.
Let’s explore how these tools improve efficiency and ease during oil filter removal.
Common Oil Filter Tools
How can you simplify the task of removing an oil filter without risking damage or frustration? Dispelling maintenance myths is key. Using the right tool with proper ergonomics prevents slippage and stripped filters.
Here are common oil filter tools designed for efficiency:
- Strap Wrenches: Flexible and adjustable, they grip filters securely without marring surfaces.
- Cup Wrenches: Match specific filter sizes for a tight fit, allowing controlled torque application.
- Pliers-style Wrenches: Offer leverage in tight spaces, though require careful handling to avoid crushing the filter.
Selecting the appropriate tool based on your filter size and workspace enhances precision and reduces effort. Using these tools correctly helps maintain your vehicle’s integrity while streamlining your oil change process.
Benefits of Specialized Tools
Although removing an oil filter by hand is possible, specialized tools substantially increase efficiency and reduce the risk of damage. Understanding oil filter basics, such as its threaded design and proper rotation direction, helps you select the right tool.
These tools, including strap wrenches and cup wrenches, provide better grip and leverage, preventing slipping or crushing the filter. They also counter common rotation myths that sometimes lead to incorrect removal methods.
Using a specialized tool ensures you apply force precisely in the correct counterclockwise direction, minimizing the chance of stripping threads or damaging the filter housing. Ultimately, these tools save you time, reduce frustration, and protect both the filter and engine components during maintenance, making the oil change process smoother and safer.
How to Loosen a Stuck Oil Filter Safely
Why does an oil filter sometimes refuse to budge? Over-tightening, heat expansion, and residue from synthetic blends can cause stubborn adhesion. To loosen it safely without damaging components or compromising fuel efficiency, follow these steps:
Apply penetrating oil around the filter base; let it soak for 10–15 minutes. Use a specialized oil filter wrench for consistent grip, avoiding slippage or crushing. Turn counterclockwise with steady force, not jerks, to break the seal gradually.
Avoid excessive force that can deform the filter or housing. Synthetic blends often leave deposits increasing grip; applying penetrating oil mitigates this. Maintaining proper loosening technique ensures safe removal, preserving your engine’s efficiency and preventing leaks that could reduce fuel efficiency.
How to Tighten Oil Filters Without Overdoing It
When tightening an oil filter, how do you guarantee a secure fit without risking damage? You need to follow torque specs precisely during oil changes. Over-tightening can crush the gasket or damage the filter housing, while under-tightening risks leaks.
Hand-tighten the filter until the gasket contacts the mounting surface, then use a torque wrench or your fingers to apply the recommended additional turn.
| Step | Action | Notes |
|---|---|---|
| 1 | Clean the mounting surface | Ensures proper seal |
| 2 | Lubricate the gasket | Prevents sticking |
| 3 | Screw on filter until gasket touches | Hand-tighten only |
| 4 | Tighten to torque specs | Typically 3/4 to 1 turn after contact |
Following these steps ensures a leak-free, secure installation without damage.
What Happens If You Turn the Oil Filter the Wrong Way?
How do you know if you’ve turned the oil filter the wrong way? Incorrect oil filter orientation or rotation direction can lead to serious engine issues. You might notice:
- Oil leaks around the filter base due to improper sealing
- Reduced oil pressure, risking engine damage
- Difficulty tightening or loosening the filter
When the oil filter’s rotation direction opposes the design, the gasket won’t seat correctly, compromising the seal. This misalignment can cause oil to bypass the filter media or leak externally.
Always verify the manufacturer’s recommended oil filter orientation and follow the specified rotation direction, usually clockwise to tighten. Turning it counterclockwise during installation can strip threads or damage the filter housing.
Proper oil filter installation ensures effective filtration and maintains optimal engine performance.
When Should You Replace Your Oil Filter Instead of Reusing It?
Ensuring the correct installation of your oil filter prevents leaks and engine damage, but knowing the right time to replace it is equally important. You should replace your oil filter every time you change your engine oil, as reusing it compromises filtration efficiency.
Filters degrade over time, accumulating contaminants that reduce flow and strain your engine. Attempting to reuse a filter risks clogging or bypass valve failure, which can cause severe engine damage.
Avoid engaging in irrelevant topic or off topic discussion about extending filter life beyond manufacturer recommendations, as this can lead to costly mistakes. Stick to the vehicle manufacturer’s maintenance schedule.
In short, replace your oil filter during each oil change to maintain optimal engine performance and longevity. Reusing it is not advisable under any standard operating conditions.
Troubleshooting Common Oil Filter Removal Problems
Why does your oil filter sometimes refuse to budge during removal? This issue often stems from factors affecting the filter’s grip and condition. Improper torque during installation or leftover oil residue can cause it to seize.
Also, a clogged filter bypass valve can increase pressure, complicating removal. To troubleshoot effectively, consider these points:
- Ensure you’re using the correct tool and turning in the proper direction opposite to installation.
- Check if the oil capacity was exceeded, causing filter swelling and tighter fit.
- Inspect the filter bypass valve for blockage, which can trap pressure and hinder loosening.
Frequently Asked Questions
Can I Use Any Oil Filter Brand for My Vehicle?
You can’t use any oil filter brand; you need to check which brands compatibility matches your vehicle. Filter material differences affect performance, so always choose filters designed for your engine to ensure proper filtration and longevity.
How Often Should I Change My Oil Filter?
You should change your oil filter every 3,000 to 5,000 miles to guarantee optimal filter maintenance. Using compatible filters prevents damage, and properly disposing of used oil filters protects the environment during changing oil routines.
What Type of Oil Filter Is Best for High-Performance Engines?
You’ll want a high-performance oil filter with advanced oil filtration media, like synthetic or multi-layered cellulose, to handle increased flow and contaminants. This ensures optimal engine protection under extreme conditions and maximizes your engine’s performance and longevity.
Can a Clogged Oil Filter Cause Engine Damage?
Don’t beat around the bush: a clogged filter can cause serious engine damage by restricting oil flow and increasing wear. Ignoring this essential component isn’t an unrelated topic. It’s vital for maintaining engine health and performance.
Are Reusable Oil Filters Effective for Long-Term Use?
Yes, reusable filters offer effective long-term performance if cleaned and maintained properly. You’ll benefit from reduced waste and consistent filtration, but neglecting upkeep can compromise their effectiveness over time, risking engine protection.
Conclusion
Now that you know the crucial details about oil filter direction and threading, imagine the frustration of forcing the wrong turn—stripped threads, leaks, costly repairs. Don’t risk it. Always check markings, apply oil to the gasket, and use the right tools.
When you tighten, feel the resistance change—your sign to stop. Mastering these steps ensures a secure fit and smooth removal next time.
Your engine’s health depends on it, so remember which way to turn oil filter every time you service your vehicle.