How to Tell if Battery Charger Is Working
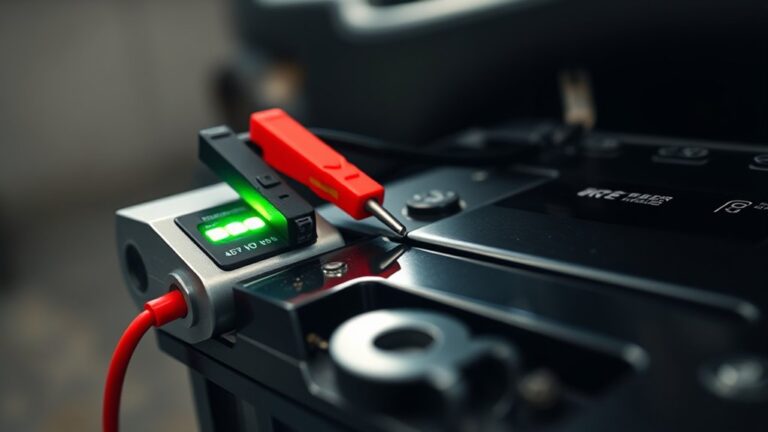
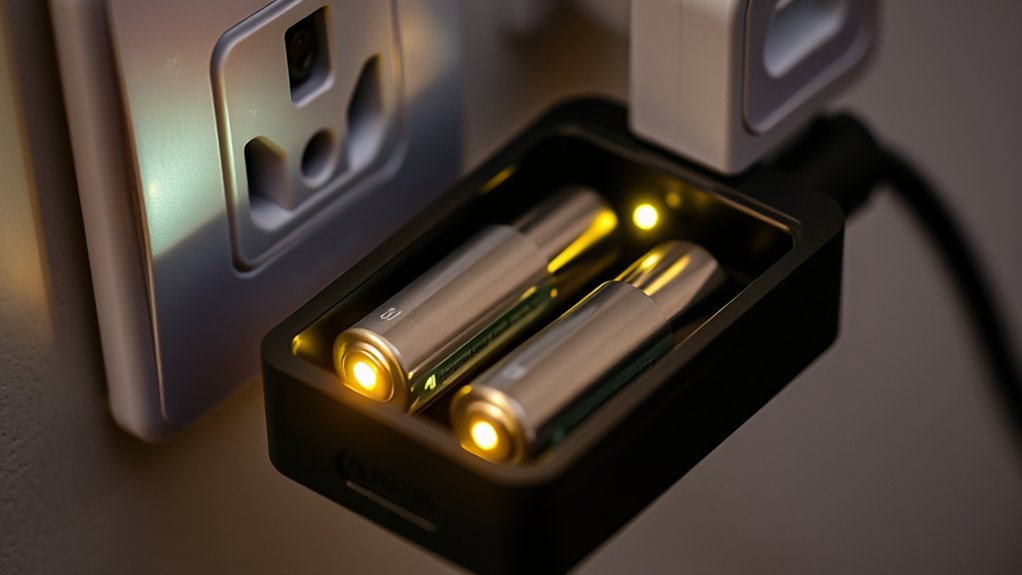
To determine if your battery charger is working properly, start by examining its connection and any indicator lights. A solid or blinking LED often signals that charging is underway, but the absence of these signs may point to an issue.
You’ll also want to verify that the battery percentage increases over time. Additionally, confirm the charger delivers the correct voltage and current to ensure proper operation.
However, these steps are just the beginning when diagnosing potential problems with your battery charger. Further testing may be needed if issues persist.
Key Takeaways
- Check for steady or blinking indicator lights on the charger, signaling active charging.
- Use a multimeter to monitor battery voltage increasing steadily during charging.
- Confirm the charger maintains stable output voltage and current without fluctuations.
- Ensure the device’s battery percentage increases while connected to the charger.
- Inspect charger and cables for visible damage or excessive heat during operation.
How To Tell If Your Battery Charger Is Working
How can you quickly determine if your battery charger is functioning properly? First, observe the indicator lights or display panel; a steady or blinking light often signifies active charging, reflecting acceptable charging efficiency.
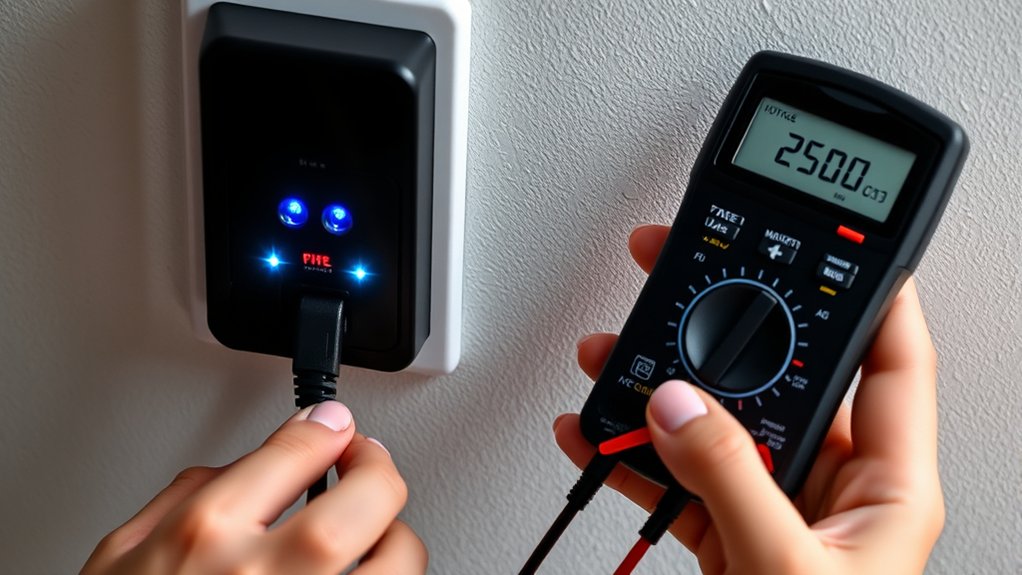
Next, monitor the battery’s voltage with a multimeter during charging to ensure it’s increasing steadily within manufacturer specifications. Check for any unusual heat generation, which may indicate inefficiencies or safety standard violations.
Verify that the charger maintains stable output current and voltage without fluctuations, as instability can degrade battery life and compromise safety. Additionally, inspect the charger for compliance labels confirming adherence to relevant safety standards.
Check If Your Charger Is Plugged In Correctly
First, make sure your charger is firmly connected to a functioning power outlet to ensure it receives electricity.
Next, inspect the charger cable for any signs of damage or wear that could interrupt power flow.
Finally, verify that the charger is properly inserted into the battery or device to establish a secure electrical connection.
Verify Power Outlet Connection
Where exactly is your charger plugged in? Begin by verifying the outlet to ensure it supplies power. Not all wall sockets provide consistent voltage, so perform a power check using a multimeter or a known working device.
Confirm the outlet isn’t controlled by a switch that’s turned off or connected to a tripped circuit breaker. If the outlet has multiple plugs, try different sockets to rule out localized faults.
Secure the charger’s plug firmly into the outlet to avoid intermittent contact, which can cause charging interruptions. Remember, a charger won’t function if the power source is unstable or absent.
Inspect Charger Cable Integrity
After confirming the outlet provides stable power, the next step is to examine the charger cable itself. You need to carefully inspect cable integrity to ensure no interruptions affect charging. Start by checking for visible insulation wear or cracks.
Then, proceed with these steps:
- Trace the entire cable length, looking for cuts or exposed wires.
- Flex the cable gently at both ends to detect internal breaks.
- Verify connectors are clean, free of corrosion, and firmly attached.
- Ensure no kinks or sharp bends compromise the cable’s structure.
Damaged insulation or internal wire breaks can cause intermittent charging or complete failure. By systematically inspecting the cable, you reduce the chance of misdiagnosing charger issues before moving on to connector insertion verification.
Confirm Proper Charger Insertion
How exactly can you ensure your charger is properly inserted to guarantee an uninterrupted power flow? First, visually inspect the connection point for secure engagement without gaps or looseness.
Ensure the connector matches the device port; incompatible connectors can cause unreliable contact, leading to intermittent charging or failure. Avoid forcing plugs, which risks damaging pins or sockets.
Confirm the charger is fully seated; partial insertion increases resistance and may trigger heat buildup, compromising safety and efficiency. If you detect unusual warmth near the connection, immediately disconnect and reassess insertion quality.
Additionally, test for a firm tactile click or resistance that indicates correct placement. By verifying proper charger insertion, you maintain stable electrical contact, prevent damage, and ensure optimal charger performance without risking overheating or connection faults.
Signs Your Charger Is Working
A functioning battery charger exhibits specific indicators that confirm it’s delivering power correctly. You’ll notice these reliable signs, proving the charger is operational without short circuit risks or overheating issues.
- LED Indicator Lights: A steady or blinking light signals active charging; absence may suggest a fault.
- Device Battery Percentage Increase: The battery level on your device climbs steadily during charging.
- Warm, Not Hot Surface: Slight warmth is normal; excessive heat indicates potential overheating and shutdown.
- Stable Voltage Output: Using a multimeter, observe consistent voltage output within manufacturer specifications.
These signs collectively assure your charger operates safely and effectively, avoiding electrical hazards like short circuit or overheating. Monitoring these indicators helps you confirm that your charger performs as intended.
Troubleshooting When Your Charger Won’t Charge Your Device
Why isn’t your charger powering your device despite being connected? First, verify the charger’s compatibility with your device and ensure the power source is active. If you’re using a new battery, confirm it’s properly installed and not defective.
Check the cable and connectors for damage or debris that could interrupt the current flow. For devices relying on wireless charging, ensure the charging pad aligns correctly with the receiver coil; misalignment can prevent effective power transfer.
Also, test if the wireless charger’s power indicator lights up to confirm it’s functioning. Finally, close any apps or settings that might restrict charging. If these steps don’t work, the issue may lie with the device’s charging port or internal circuitry rather than the charger itself.
How To Test Your Charger With a Multimeter
If your device still won’t charge after verifying compatibility and inspecting cables, measuring the charger’s output voltage with a multimeter can pinpoint whether it’s delivering power correctly. Begin by setting your testing multimeter to the DC voltage range suitable for your charger. Then follow these steps:
If your device won’t charge, use a multimeter to check if the charger delivers the correct voltage.
- Ensure the charger is plugged into a power source.
- Identify the battery polarity on the charger’s output plug (positive and negative terminals).
- Place the multimeter’s red probe on the positive terminal and the black probe on the negative terminal.
- Read the voltage displayed on the multimeter and compare it to the charger’s specified output voltage.
If the measured voltage significantly deviates from the specification, the charger may be faulty or underperforming.
Common Charger Problems and How To Spot Them
How can you quickly identify if your charger is malfunctioning before running extensive tests? Start by inspecting for visible damage like frayed cables or burnt connectors, which compromise charger safety.
Next, check if the charger heats excessively during use; overheating indicates internal faults reducing energy efficiency. A fluctuating or absent indicator light also signals potential issues.
Additionally, inconsistent charging times or a battery that never reaches full charge often point to voltage irregularities. Use a multimeter to confirm output matches specifications precisely, as deviations affect performance and safety.
Finally, listen for unusual noises or smells, which might suggest short circuits or component failure. Spotting these common problems early helps maintain charger safety and ensures optimal energy efficiency during battery charging.
When To Replace Your Charger and Extend Its Lifespan
You’ll know it’s time to replace your charger when it shows consistent signs of failure like overheating, slow charging, or intermittent power delivery.
To extend its lifespan, regularly clean the contacts and avoid exposing the charger to extreme temperatures. If performance declines despite maintenance, upgrading to a newer model with improved efficiency is the best course of action.
Signs Charger Is Failing
Why does your charger fail to deliver power consistently? Decreasing charger efficiency often signals internal component deterioration or wiring issues. Ignoring these signs may increase safety risks, including electrical shorts or overheating.
To determine if your charger is failing, watch for these indicators:
- Inconsistent or slow charging times compared to usual performance
- Unusual heat generation during operation
- Visible damage, such as frayed cables or cracked casing
- Frequent disconnections or inability to maintain a stable connection
If you observe any of these symptoms, it’s advisable to replace the charger promptly. Continuing to use a compromised charger not only reduces its efficiency but also elevates the risk of device damage or personal injury due to electrical faults.
Maintenance Tips For Longevity
When should you consider replacing your battery charger to ensure optimal performance and safety? Replace it if you notice inconsistent charging, overheating despite proper thermal management, or visible damage to cables and connectors.
Regular maintenance extends your charger’s lifespan: keep ventilation ports free from dust to prevent thermal buildup, which compromises battery safety and device function. Inspect cables and connectors for wear or corrosion, as these impair electrical contact and increase resistance, leading to heat generation.
Use chargers within recommended voltage and current specifications to avoid stressing components and triggering thermal faults. If your charger lacks modern safety features like temperature sensors or automatic shutoff, consider replacement to maintain battery safety.
Proactively managing these factors preserves charger efficiency and prevents hazards related to overheating and electrical failure.
When To Upgrade
How do you determine the right moment to upgrade your battery charger to maintain efficiency and safety? Monitoring upgrade frequency is essential to prevent charger failure and protect battery health. Consider these critical indicators:
- Charger consistently fails to reach full charge or takes longer than usual.
- Visible signs of wear, corrosion, or damage to cables and connectors.
- Frequent overheating or unusual noises during operation.
- Compatibility issues with newer battery technologies or charging standards.
If you observe any of these, it’s time to replace your charger. Upgrading ensures optimal charging performance, preserves battery health, and reduces safety risks.
Regularly evaluating your charger against these criteria helps extend its lifespan while maintaining reliable, efficient operation. Don’t wait for complete failure; proactive replacement safeguards your devices and investment.
Frequently Asked Questions
Can I Use a Car Battery Charger for Other Types of Batteries?
You shouldn’t use a car battery charger for other battery chemistries without verifying compatibility. Different chemistries require specific voltage and current settings, so ignoring safety considerations risks damaging batteries or causing hazards.
Always check specs first.
How Long Does It Typically Take to Fully Charge a Dead Battery?
Charging a dead battery typically takes 4 to 24 hours, like filling a reservoir slowly but steadily. Your charging time depends on battery capacity, charger output, and battery condition, so monitor voltage and current for precision.
Are Wireless Battery Chargers Less Effective Than Wired Ones?
Yes, you’ll find wireless inefficiency reduces charging speed compared to wired chargers. Wireless chargers lose energy through induction, so your device charges slower and less efficiently. This makes wired options better for rapid, reliable power delivery.
Can Extreme Temperatures Affect My Battery Charger’s Performance?
Extreme environments erode efficiency; extreme temperatures markedly suppress your battery charger’s performance by disrupting internal circuits and chemical reactions.
You’ll notice slower charging speeds and potential overheating, reducing overall reliability and lifespan.
Is It Safe to Leave a Battery Charger Plugged in Overnight?
It is safe to leave a battery charger plugged in overnight only if it features automatic shutoff. Otherwise, continued charging can cause unwanted chemical reactions, potentially damaging the battery or charger and posing safety hazards.
Conclusion
You’ll know your charger works when the LED glows steadily, the battery percentage climbs, and the multimeter reads stable voltage—clear signs of energy flow. In contrast, a dark indicator, stagnant charge, or erratic readings signal failure or faulty connections.
By comparing these states, you can pinpoint issues precisely. Always inspect cables, heat levels, and outlet integrity to avoid hidden faults.
This analytical approach ensures you maintain reliable power and avoid unexpected downtime. Knowing how to tell if a battery charger is working helps you troubleshoot effectively and keep your devices charged.