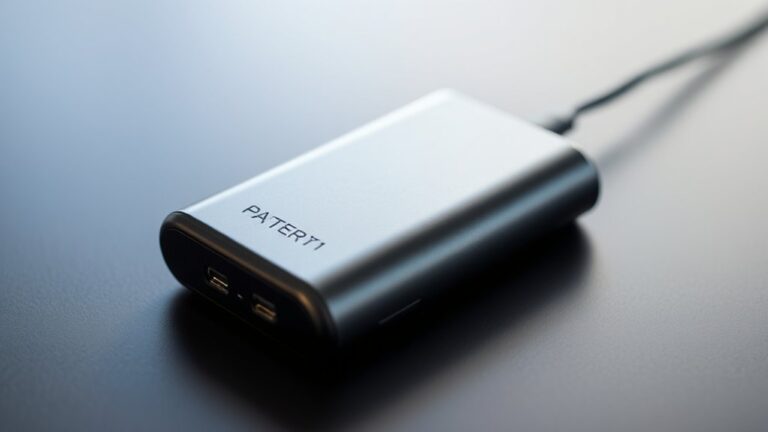
How to Use a Trickle Battery Charger
Did you know that leaving a battery unused can reduce its lifespan by up to 50%? Using a trickle battery charger helps maintain your battery’s health by supplying a steady, low current that prevents overcharging. A trickle battery charger is an essential tool for keeping your battery in optimal condition.
However, proper preparation and connection are essential for safe and effective charging. Before you start, you’ll need to understand the right steps to follow—missing any could lead to damage or inefficiency. Following the correct procedure ensures your battery charges correctly and lasts longer.
Key Takeaways
- Inspect and clean battery terminals, checking for damage before connecting the trickle charger.
- Connect the red clamp to the positive terminal and the black clamp to the negative terminal or metal frame.
- Set the charger’s voltage and current to match the battery’s specifications for safe charging.
- Charge in a well-ventilated area, monitor for heat or swelling, and avoid overcharging.
- Disconnect the charger after full charge and maintain battery health with regular cleaning and proper storage.
What Is a Trickle Battery Charger and When to Use It
What exactly is a trickle battery charger, and when should you use one? A trickle charger is a device designed to deliver a low, steady charge to a battery over an extended period. It prevents overcharging by automatically adjusting the charge rate once the battery reaches full capacity.
You should use a trickle charger primarily for battery maintenance, especially when the battery isn’t in frequent use. This ensures the battery remains at optimal charge without degradation. It’s ideal for seasonal vehicles, stored equipment, or backup power sources.
Using a trickle charger helps extend battery life by avoiding deep discharge and sulfation. Remember, a trickle charger is not suited for rapid charging but excels in maintaining a battery’s charge safely over time.
How to Prepare Your Battery Before Charging
Before connecting your trickle charger, you need to prepare the battery to guarantee safe and efficient charging. Start with pre-charging checks: inspect the battery for cracks, leaks, or corrosion on terminals.
Clean terminals using a wire brush and baking soda solution if corrosion is present. Ensure the battery is fully accessible and well-ventilated to prevent gas buildup during charging.
Verify electrolyte levels if you have a flooded lead-acid battery; top off with distilled water if needed. Perform battery conditioning by testing its voltage and cold cranking amps to confirm it’s within acceptable limits.
Avoid charging damaged or heavily sulfated batteries, as trickle chargers are designed for maintaining rather than restoring battery health. Proper preparation maximizes charging efficiency and prolongs battery lifespan.
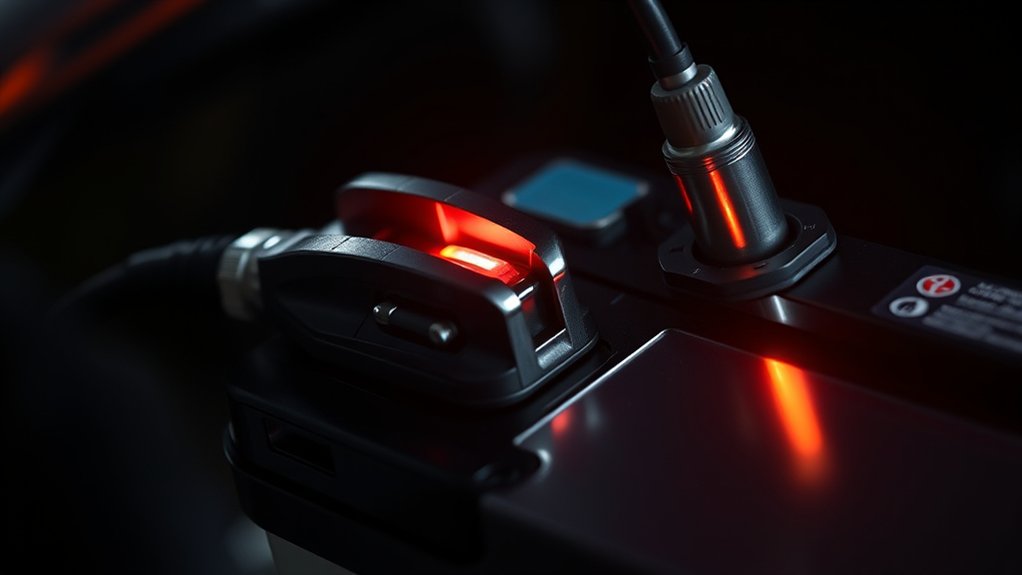
How to Connect Your Trickle Battery Charger
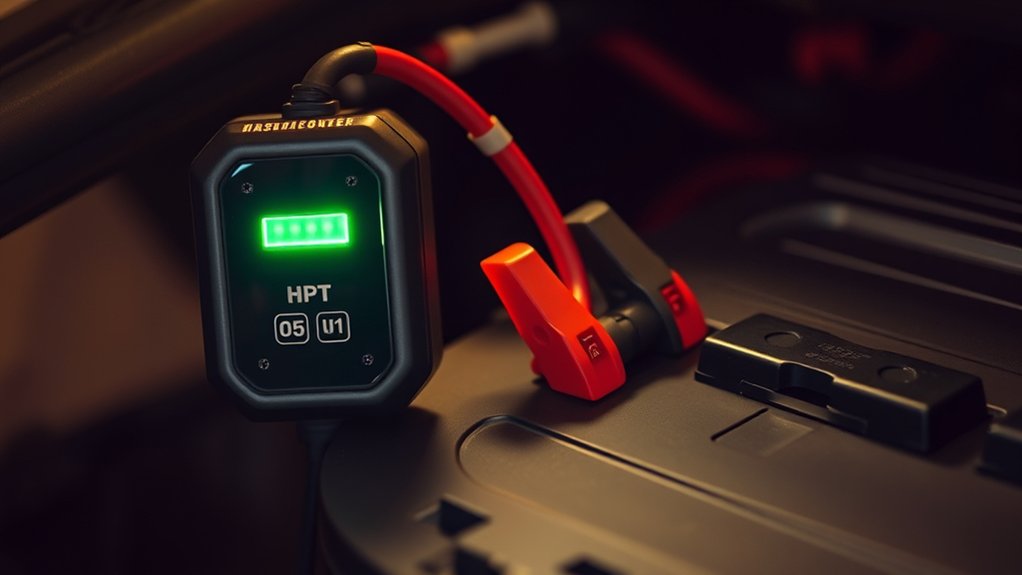
Connecting your trickle battery charger involves careful attention to polarity and secure attachment of the clamps. Start by identifying the positive (red) and negative (black) terminals on your battery.
Properly connect your trickle charger by identifying positive and negative battery terminals with care.
Connect the charger’s red clamp to the positive terminal first, ensuring a firm grip. Then attach the black clamp to the negative terminal or to a clean, unpainted metal surface on the vehicle’s frame to minimize sparking.
These connectivity basics are critical to prevent damage to the battery or charger. Always perform connections in a well-ventilated area and avoid contact with battery acid.
Double-check all connections before powering the charger. Following these safety considerations reduces risks and ensures efficient charging. Never reverse the clamps, as incorrect polarity can cause serious damage.
How to Set and Monitor Charging Safely
How carefully you set your trickle charger’s voltage and current controls directly affects your battery’s health and charging efficiency. Follow these steps to set and monitor charging safely:
- Adjust the voltage and current to match the battery’s specifications, avoiding overcharging or undercharging.
- Connect the charger securely, then power it on and observe the initial charging indicators.
- Regularly check the battery and charger for excessive heat or swelling, key safety precautions to prevent damage.
- Once charging completes, disconnect the charger and follow manufacturer guidelines on how to store the battery properly, ensuring long-term preservation.
Avoid Common Mistakes and Maintain Your Battery Long-Term
Why do many battery issues arise despite careful charging? Often, it’s due to avoidance pitfalls like neglecting regular inspections or improper charger settings. To maintain your battery long-term, establish a strict maintenance cadence.
Check terminals for corrosion and clean them as needed. Always connect the charger correctly, positive to positive, negative to negative, to prevent damage. Avoid overcharging by using a charger with automatic shutoff or monitoring voltage during charging.
Regularly clean terminals and connect charger correctly to avoid damage and prevent overcharging.
Store the battery in a cool, dry place when not in use, and charge it periodically to prevent capacity loss. By adhering to these practices, you minimize the risk of premature battery failure and maximize lifespan.
Consistent attention to these details ensures your battery performs reliably over time.
Frequently Asked Questions
Can a Trickle Charger Damage a Lithium-Ion Battery?
A trickle charger can damage a lithium-ion battery if it lacks lithium safety features. You need a charger designed for lithium chemistry to prevent overcharging, overheating, and potential battery failure, ensuring safe, efficient charging.
How Long Does It Take to Fully Charge a Dead Battery?
Don’t believe charging myths; fully charging a dead battery with a trickle charger usually takes 12 to 24 hours.
You’ll guarantee battery safety by monitoring voltage and avoiding overcharging during this slow, steady process.
Are Trickle Chargers Compatible With Motorcycle Batteries?
Yes, trickle charger compatibility depends on your motorcycle battery type. Most AGM and lead-acid batteries work well, but lithium-ion requires specific chargers. Always check your battery specs to ensure safe, effective charging with a trickle charger.
Can I Leave a Trickle Charger Connected Overnight?
You can leave a trickle charger connected overnight for leisure charging, as it safely maintains battery charge. For sustainability, guarantee your charger has automatic shutoff or float mode to prevent overcharging and extend battery life.
What’s the Difference Between a Trickle Charger and a Smart Charger?
Trickle vs Smart chargers are like slow cooks versus chefs with timers; you’ll use a trickle charger for steady battery maintenance, while a smart charger automatically adjusts charging to prevent overcharging and optimize battery health.
Conclusion
Using a trickle battery charger correctly extends your battery’s life—studies show it can increase battery lifespan by up to 50%. Always prep your battery by cleaning the terminals and ensuring it is fully charged before starting.
Next, connect the charger with the correct polarity, attaching the positive clamp to the positive terminal and the negative clamp to the negative terminal. Monitor the charging process closely to prevent overcharging, which can damage the battery.
This slow, steady charging method is ideal for long-term battery maintenance. By following these steps carefully, you’ll guarantee reliable performance and avoid costly replacements. Using a trickle battery charger properly will help your battery last longer and operate more efficiently.