
How to Change Oil Filter Without Tool
Did you know that nearly 30% of DIY oil changes stall because of a stuck oil filter and lack of proper tools? Learning how to change an oil filter without a tool can help you avoid this common problem.
You can master a few straightforward techniques to remove and replace your oil filter without specialized equipment. Understanding how to leverage everyday items and proper hand methods will save you time and prevent damage.
Let’s explore how to get this done efficiently, even when tools aren’t at hand.
Key Takeaways
- Warm the oil filter with hot water to expand metal and loosen residue for easier removal.
- Use a rubber strap, belt, or cloth wrapped around the filter for better grip and leverage.
- Twist the filter counterclockwise by hand with steady, controlled force to avoid slippage.
- Place a catch pan beneath the filter to catch any oil spillage during removal.
- Apply penetrating oil if the filter is stuck, wait, then repeat removal steps carefully.
How to Identify Your Oil Filter Type and Location
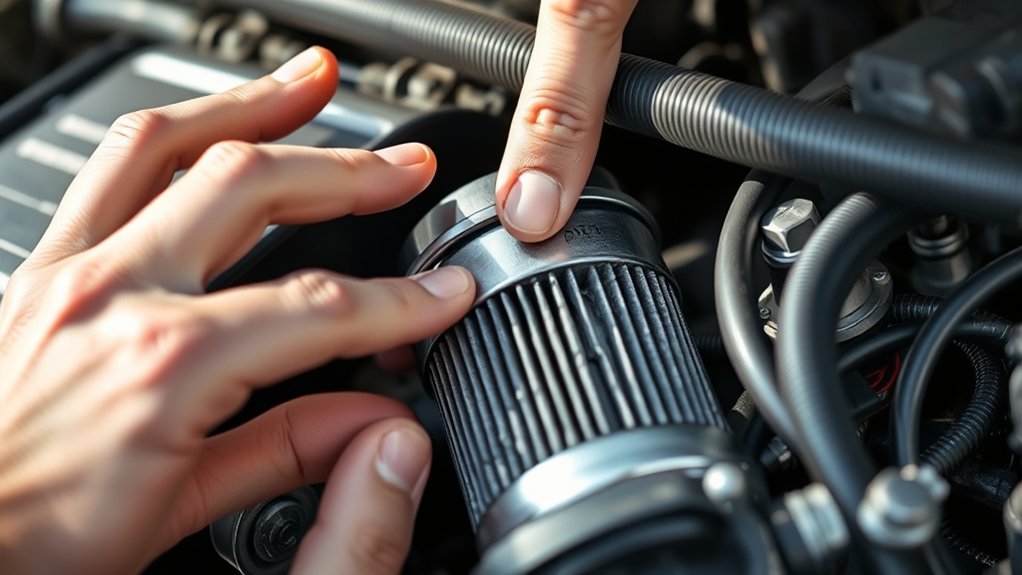
Where exactly is your oil filter located, and what type do you have? First, consult your vehicle’s manual to identify the oil filter’s position, usually near the engine block or oil pan.
The filter type varies: spin-on filters screw directly onto the engine, while cartridge filters fit inside a housing. Knowing the oil type your engine requires is crucial, as some filters are designed to work optimally with specific oil viscosities.
Pay attention to the filter material; most use cellulose or synthetic fibers, which affect filtration efficiency and lifespan. By accurately identifying your oil filter’s location and type, you ensure you select the correct replacement without tools, making your oil change smoother and more effective.
How to Drain Oil Properly Before Changing Your Oil Filter
When should you drain the oil to guarantee a clean and efficient filter replacement? You should drain the oil immediately before removing the oil filter to minimize spillage and contamination.
Start by warming the engine for a few minutes to thin the oil, then securely position a drain pan beneath the oil drain plug. Carefully unscrew the plug and allow the oil to fully drain. This ensures you remove as much drain waste as possible, preventing old oil from contaminating the new filter.
Warm the engine briefly, position a drain pan, then fully drain the oil to avoid contamination.
After draining, reinstall and tighten the drain plug to the manufacturer’s torque specifications. Dispose of the used oil and filter responsibly, following local regulations for drain waste and filter disposal.
Proper handling prevents environmental harm and ensures your vehicle runs smoothly after maintenance.
Everyday Items You Can Use Instead of an Oil Filter Wrench
A variety of common household items can effectively replace an oil filter wrench when you need to remove a stubborn filter. For instance, a rubber strap from a jar opener provides firm grip without damaging the filter surface.
An adjustable wrench or a pair of locking pliers can also serve as tool alternatives if used cautiously to avoid crushing the filter. Additionally, a sturdy belt looped around the filter offers leverage when twisted by hand.
When applying these tool alternatives, ensure you maintain steady pressure and proper alignment to prevent slippage. These how to tips help you work efficiently without specialized equipment, making oil filter removal accessible in most situations.
Always prepare for oil spillage by placing a catch pan beneath the filter before attempting removal.
How to Loosen a Stuck Oil Filter Without Tools
If the oil filter is stuck, start by warming it with hot water to expand the metal. Then, wrap a rubber grip or a thick cloth around the filter to improve your grip. Finally, twist the filter counterclockwise using steady, controlled force to loosen it.
Use Hot Water
Hot water can effectively loosen a stuck oil filter by expanding the metal and softening any adhesive residues. Begin by heating water until it’s hot but not boiling, to prevent damage or burns.
Carefully pour the hot water over the oil filter, ensuring you avoid contact with engine components sensitive to heat. Let the hot water sit for several minutes to allow thermal expansion and residue softening.
Always prioritize safety concerns. Wear heat-resistant gloves and avoid splashing hot water on yourself or nearby electrical parts. After this, gently try to turn the filter by hand.
If it remains stuck, reapply hot water and wait a bit longer. This method uses controlled heat to reduce grip tension without tools, making filter removal safer and more manageable.
Apply Rubber Grip
Once thermal expansion has loosened the oil filter slightly, you can improve your grip by applying a rubber material. A rubber grip increases friction, allowing you to turn the filter more effectively without an oil filter wrench. Use household items that provide enough traction to grip the filter securely.
Consider these options to apply a rubber grip:
- Use a thick rubber glove to grasp the oil filter firmly.
- Wrap a rubber jar opener or silicone pot holder around the filter.
- Cut a strip from a bicycle inner tube to create a makeshift grip.
- Place a rubber band or bungee cord around the filter for added traction.
Ensure the rubber material fully contacts the filter’s surface to prevent slipping and enable controlled turning.
Twist With Cloth
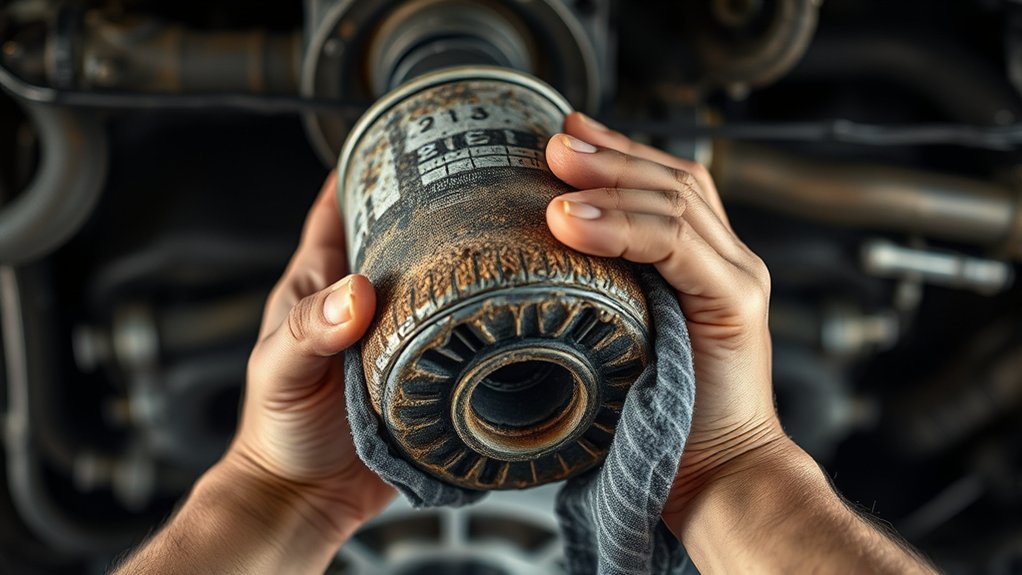
Grab a sturdy cloth, such as a microfiber towel or an old rag, and wrap it tightly around the oil filter to enhance your grip. This cloth grip increases friction, allowing you to apply greater torque without slipping.
Position your hand firmly over the wrapped filter, ensuring the cloth covers as much surface area as possible. Use a controlled twist technique by turning the filter counterclockwise with steady pressure.
If the filter remains stuck, adjust your grip and apply incremental force to avoid damaging the filter or filter housing. The cloth grip also protects your hand from oil residue and sharp edges.
This twist technique leverages friction and leverage, making it effective for loosening stuck oil filters when no specialized tools are available.
How to Use a Strap, Belt, or Pliers to Remove Your Oil Filter
To remove your oil filter using a strap or belt, wrap it tightly around the filter to increase grip and apply steady, even pressure while turning counterclockwise.
If you have pliers, position them carefully to avoid damaging the filter housing, then turn slowly to loosen the filter. Both methods require controlled force to prevent slipping or breaking the filter.
Using a Strap Effectively
A strap, belt, or pliers can provide the necessary grip and leverage to loosen a stubborn oil filter when you don’t have a dedicated tool. For effective strap technique, wrap the strap or belt around the filter tightly, ensuring minimal slack. Use the free end to apply steady, controlled torque counterclockwise.
This approach maximizes grip without damaging the filter casing.
Key points for belt usage include:
- Select a sturdy, non-elastic belt or strap for reliable grip
- Position the strap as low on the filter as possible to increase leverage
- Pull or twist slowly to avoid slipping or snapping the strap
- Maintain consistent pressure to gradually break the seal
Following these steps ensures you efficiently remove the filter with minimal risk of injury or filter damage.
Removing Filter With Pliers
When the strap or belt method doesn’t provide enough grip, pliers offer a practical alternative for loosening the oil filter. Select pliers that match your filter’s size and consider the filter material to avoid damage.
Ensure oil compatibility by cleaning any oil residue from the pliers before use.
| Step | Instruction |
|---|---|
| 1. Grip | Position pliers on the filter’s edge. |
| 2. Apply Force | Rotate counterclockwise steadily. |
| 3. Monitor | Avoid excessive force on fragile filter material. |
| 4. Remove | Once loosened, unscrew by hand. |
Using pliers carefully ensures you don’t compromise the filter’s integrity or oil compatibility during removal.
How to Remove an Oil Filter When It’s Too Tight
Struggling with a stubborn oil filter? Removing an overly tight filter requires careful technique to maintain effective oil filtration and protect engine longevity. Here’s how to tackle it without special tools:
Apply penetrating oil around the filter base; let it soak for 10-15 minutes to loosen grime. Use a sturdy rubber strap or an old belt to create extra grip around the filter.
Turn the filter counterclockwise slowly, applying steady, even pressure to avoid damaging the housing. If it still won’t budge, gently tap the filter’s edge with a rubber mallet to break the seal.
How to Install a New Oil Filter Without Special Tools
How exactly do you guarantee a secure fit for your new oil filter without relying on special tools? Start by applying a thin layer of fresh oil from your vehicle’s oil capacity to the rubber gasket of the new filter. This prevents engine varnish buildup and guarantees a tight seal.
Next, screw the filter onto the engine by hand, turning it clockwise until the gasket contacts the mounting surface. Then, tighten it an additional three-quarters of a turn. This hand-tight approach avoids overtightening, which can damage the gasket or cause leaks.
Avoid using tools that might crush or deform the filter housing. By following these precise steps, you maintain ideal oil flow and protect against engine varnish accumulation without needing specialized equipment.
How to Check for Leaks and Ensure a Tight Seal After Replacement
Why is it essential to verify the oil filter’s seal immediately after installation? A proper seal prevents oil leaks that can lead to engine damage or contamination.
After replacing the filter, follow these steps to ensure a tight seal:
- Start the engine and let it run for a few minutes to pressurize the system.
- Inspect the filter base and surrounding area for any signs of oil seepage.
- Confirm oil compatibility by ensuring the new filter and oil meet manufacturer specifications.
- Check for proper torque; hand-tighten the filter firmly, avoiding over-tightening.
If you detect leaks, shut off the engine immediately and readjust or replace the filter. Remember to perform responsible filter disposal to avoid environmental hazards.
This thorough check guarantees your system operates safely and efficiently.
Signs You Need to Change Your Oil Filter and How Often to Do It
You need to change your oil filter when you notice reduced engine performance, dark or dirty oil, or an illuminated oil warning light. Typically, replace the filter every 3,000 to 7,500 miles, depending on your vehicle’s specifications and driving conditions.
Ignoring these intervals can lead to clogged filters, decreased oil flow, and potential engine damage.
Oil Filter Change Indicators
Regularly monitoring your vehicle’s performance and maintenance schedule helps determine when to change the oil filter. Neglecting this can reduce fuel efficiency and alter oil viscosity, affecting engine protection. Watch for these key indicators:
- Decreased fuel efficiency despite consistent driving habits
- Noticeable changes in oil viscosity or color during inspection
- Engine overheating or unusual noises linked to oil flow restriction
- Illuminated oil pressure or maintenance warning lights on the dashboard
If you observe any of these signs, it’s time to replace the oil filter. Staying ahead prevents contaminants from circulating, ensuring optimal lubrication and engine longevity. Always refer to your vehicle’s manual for specific guidance, but use these indicators as practical tools to maintain engine health effectively.
Recommended Change Intervals
How often should you change your oil filter to maintain peak engine performance? Typically, replace the oil filter every 3,000 to 7,500 miles, depending on oil quality and driving conditions. Monitor the oil quality regularly, as poor oil accelerates filter clogging.
Proper disposal methods for used filters are essential; always follow local regulations to prevent environmental contamination.
| Driving Condition | Recommended Interval |
|---|---|
| Normal city driving | 5,000 miles |
| Highway driving | 7,500 miles |
| Severe conditions | 3,000 miles |
| Synthetic oil use | 7,500 miles |
| Poor oil quality | 3,000 miles |
Change the oil filter sooner if you notice dark oil or engine noise. This guarantees dependable filtration and engine longevity.
Effects Of Neglecting Changes
Neglecting timely oil filter changes can lead to decreased engine efficiency and increased wear. When you don’t replace the filter regularly, contaminants accumulate, causing sludge buildup that impairs oil flow. This can result in irreversible damage to engine components.
Watch for these signs indicating it’s time to change your oil filter:
- Reduced engine performance and unusual noises
- Dark, dirty oil despite recent oil changes
- Increased engine temperature or overheating
- Warning lights on the dashboard related to oil pressure
To avoid these issues, stick to the manufacturer’s recommended intervals, typically every 3,000 to 7,500 miles. Regular oil filter changes ensure clean oil circulation, protect your engine from harmful debris, and maintain optimal performance without risking costly repairs from neglect.
Tips for Keeping Your Engine Running Smoothly After an Oil Filter Change
What steps can you take immediately after changing your oil filter to ensure optimal engine performance? First, verify that the new filter is securely installed to prevent leaks, which can compromise insulation durability and cause premature engine wear.
Next, refill the engine oil to the manufacturer’s recommended level, using the correct oil grade to maintain fuel economy and lubrication efficiency. Start the engine and let it idle briefly, checking for leaks and monitoring oil pressure.
This step ensures proper oil circulation through the new filter. Finally, reset any maintenance indicators and record the change date for future reference. Consistent adherence to these practices preserves engine insulation durability, optimizes fuel economy, and supports smooth engine operation over time.
Frequently Asked Questions
What Type of Oil Is Best for My Vehicle?
You should choose oil viscosity based on your vehicle’s manual to minimize engine wear. Using the recommended grade guarantees proper lubrication, protects engine components, and maintains efficiency under varying temperatures and driving conditions.
Can I Reuse an Old Oil Filter?
Think twice before reusing a filter. Reusing a filter isn’t recommended.
Old filter risks include clogging and contamination, reducing engine protection. Always replace the oil filter to maintain optimal performance and avoid potential damage to your engine’s health.
How Do I Dispose of Used Oil and Filters Safely?
You must follow disposal regulations by draining used oil and storing filters in sealed containers. Take both to authorized recycling centers or hazardous waste facilities to assure environmental safety and compliance with local laws.
What Are the Risks of Changing an Oil Filter Improperly?
If you use an improper filter or install it incorrectly, you risk dangerous leaks that can cause engine damage.
You should ensure a proper seal and correct torque to avoid oil loss and maintain engine performance.
How Long Does an Oil Filter Change Typically Take?
You’ll breeze through an oil filter change in about 20 to 30 minutes using the tool-free method. Precise oil change timing matters; stay efficient, avoid over-tightening, and maintain your engine’s health with careful, systematic steps.
Conclusion
Changing your oil filter without tools is entirely doable with the right techniques and everyday items. Remember, about 70% of engine wear comes from poor lubrication, highlighting the importance of timely oil and filter changes.
By warming the engine, draining oil properly, and using a belt or rubber grip to loosen the filter, you’ll maintain peak engine performance.
Always inspect for leaks after installation to guarantee a tight seal and long-lasting protection. With these steps, changing your oil filter without tools becomes a straightforward and effective process.