How to Patch a Tonneau Cover
Just like patching a tire, fixing your tonneau cover requires the right materials and precise steps to guarantee durability. Patching a tonneau cover involves identifying the fabric type, preparing the damaged area meticulously, and applying a patch that bonds securely. Missing any detail can lead to leaks or further damage, so understanding the process is essential.
Let’s explore the essential techniques that will help you restore your cover effectively. By following these steps carefully, you can extend the life of your tonneau cover and keep it functioning properly. Proper patching ensures a strong, lasting repair that withstands the elements.
Key Takeaways
- Identify your tonneau cover’s material (vinyl, canvas, aluminum) to select a compatible patch and adhesive.
- Clean and dry the damaged area thoroughly, then lightly sand and wipe with isopropyl alcohol for better adhesion.
- Cut a patch slightly larger than the damage, align it carefully, and press firmly to remove air bubbles.
- Apply adhesive evenly under the patch edges, seal with waterproof sealant, and allow it to cure fully.
- Regularly clean and protect your cover with UV spray to prevent future damage and prolong patch life.
Identify Your Tonneau Cover’s Type and Material Before Patching
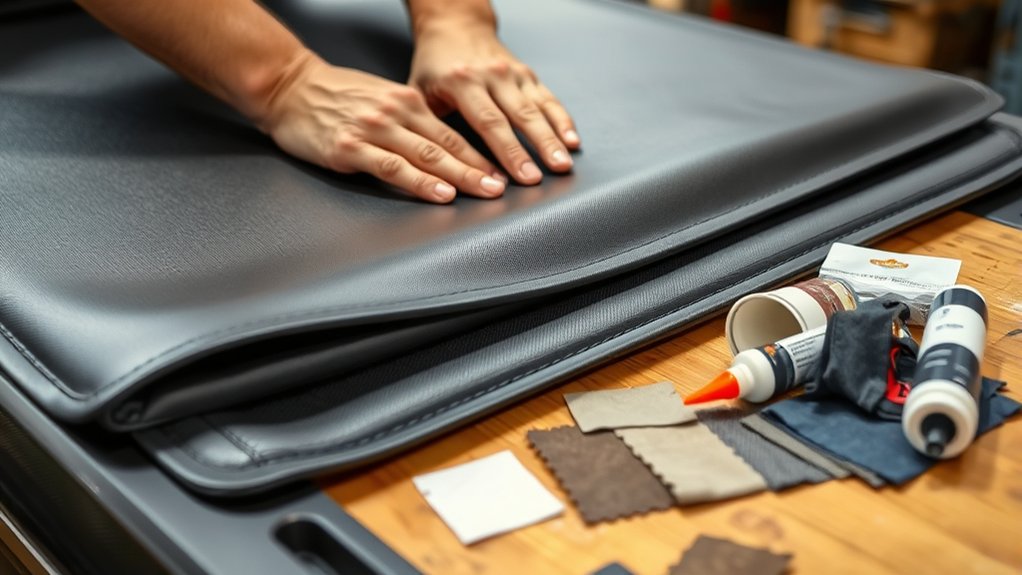
Before you start patching, determine what type of tonneau cover you have and the material it’s made from. Identifying cover material is essential because vinyl, canvas, aluminum, and fiberglass each require different patching techniques and adhesives.
Inspect your cover’s texture and flexibility to distinguish between materials; for instance, vinyl is pliable and smooth, while aluminum is rigid and metallic. This step directly impacts evaluating patch longevity, as compatible materials ensure a durable, weather-resistant repair.
Using an adhesive designed for your specific cover prevents premature patch failure. Additionally, consider the cover’s thickness and exposure to elements, which affect patch wear over time.
Accurately identifying your cover type and material sets the foundation for a successful, long-lasting patch.
Gather Essential Tools and Patch Materials for Your Cover
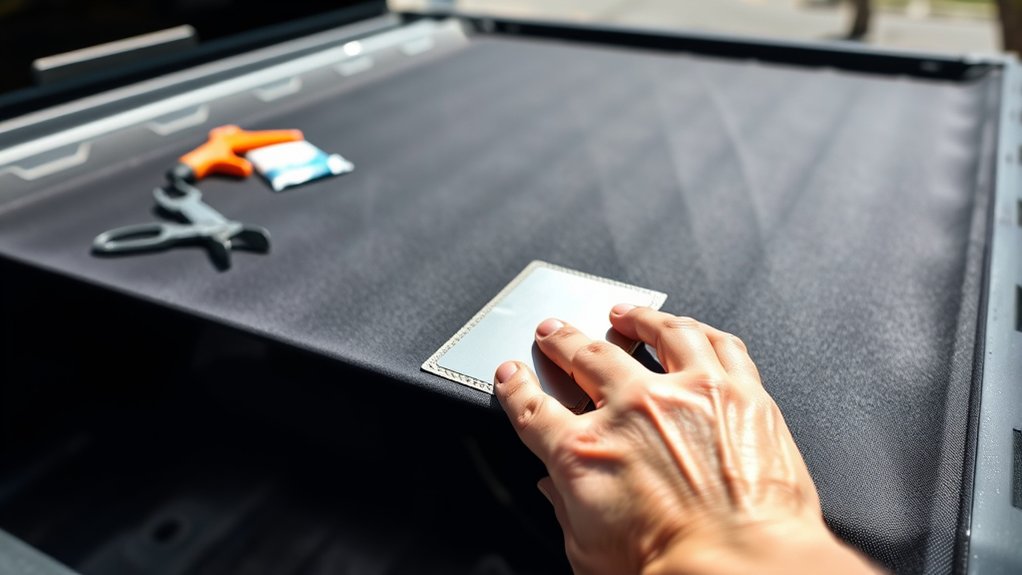
You’ll need basic tools like scissors, adhesive, and a cleaning cloth to start your patch job. Selecting the right patch material depends on your cover’s type. Vinyl patches work best for vinyl covers, while fabric patches suit cloth ones.
Make sure the adhesive is compatible with both the patch and your cover material for a secure bond.
Required Tools Overview
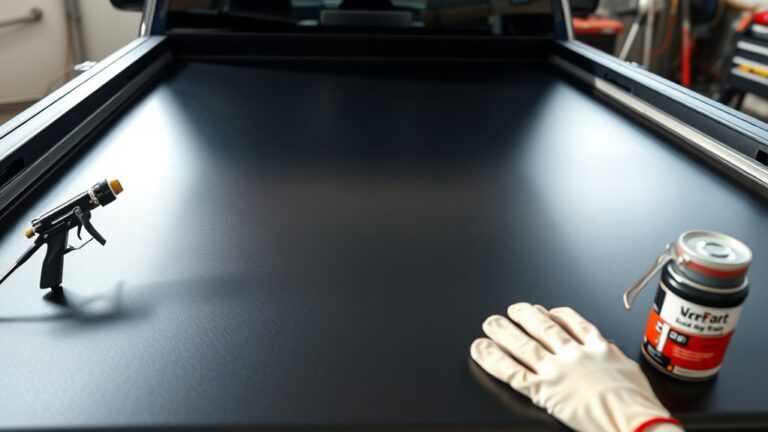
Gathering the right tools and materials is essential for an effective tonneau cover repair. You’ll need a utility knife or scissors for precise trimming, a cleaning cloth, and a mild detergent to ensure proper surface prep.
A squeegee or roller is crucial to apply firm, even pressure on the patch, eliminating air bubbles and ensuring strong adhesion. Select a measuring tape or ruler to accurately size your patch, maintaining patch compatibility with the damaged area.
Additionally, keep adhesive or contact cement suitable for your cover’s material on hand. Having these tools ready streamlines the repair process, promotes durability, and prevents future damage.
Proper surface prep combined with compatible patch materials significantly improves the repair’s longevity and effectiveness.
Choosing Patch Materials
How do you select the best patch material for your tonneau cover? Start by identifying the patch material types compatible with your cover’s fabric. Vinyl, canvas, or leather patches work well depending on your tonneau’s original material.
Vinyl patches offer durability and water resistance, while canvas suits breathable covers. Prioritize materials with adhesive backing for ease of application and secure bonding.
Color matching is crucial; choose a patch color that closely aligns with your cover’s to maintain aesthetics and conceal the repair. Many suppliers offer pre-cut patches in various shades or rolls you can trim precisely.
Avoid materials that are too rigid or flexible compared to your cover, as this may cause premature wear. Selecting the right patch material types and ensuring proper color matching guarantees a professional, long-lasting repair.
Clean and Prepare the Damaged Area
Where should you start when preparing to patch a tonneau cover? Begin by thoroughly cleaning the damaged area to guarantee proper adhesion. Use a mild detergent and water to remove dirt, oils, and debris, then dry completely.
Inspect the damage closely, trimming jagged edges or loose threads to create a smooth surface. This step is essential for effective sealing when learning how to patch leaks. Avoid skipping cleaning, as contaminants can compromise patch adhesion.
After cleaning, guarantee the patch material is stored correctly. Keep unused patches flat in a cool, dry place to maintain flexibility and adhesive quality. Proper preparation and storage set the foundation for a durable repair, extending your tonneau cover’s life and preventing further damage.
How to Patch Vinyl and Canvas Covers Step-by-Step
You’ll start by thoroughly preparing the cover surface to ensure proper adhesion. Next, cut the patch to size and position it accurately over the damaged area.
Finally, apply firm pressure to secure the patch and eliminate any air bubbles.
Preparing The Cover Surface
Why is surface preparation essential before patching vinyl or canvas tonneau covers? Proper preparation ensures the patch adheres securely, directly impacting patch durability and patch aesthetics.
Start by thoroughly cleaning the damaged area with mild soap and water to remove dirt, oils, and residues. Avoid harsh chemicals that may degrade the material. Once clean, dry the surface completely using a lint-free cloth to prevent moisture entrapment that can weaken adhesion.
Next, gently sand the area with fine-grit sandpaper to create a slightly rough texture, promoting better bonding between the patch and cover. Finally, wipe away sanding dust with isopropyl alcohol and allow it to evaporate.
This meticulous preparation prevents patch lifting or peeling, guaranteeing a durable, visually seamless repair.
Applying The Patch Correctly
A properly applied patch restores your tonneau cover’s strength and appearance. First, ensure patch compatibility with your cover material, vinyl or canvas, to maximize adhesion and durability. Cut the patch slightly larger than the damaged area. Apply adhesive evenly and press firmly, avoiding air bubbles.
Consider cost considerations when choosing patch materials; higher-quality patches may cost more but extend the cover’s lifespan.
| Step | Action | Tip |
|---|---|---|
| Surface Prep | Clean and dry surface | Remove dirt and oils |
| Patch Placement | Align and press patch | Avoid wrinkles and gaps |
| Finishing | Seal edges with adhesive | Prevent moisture ingress |
Following these steps ensures a durable, cost-effective repair that maintains your cover’s protective function.
Seal Your Patch So It Lasts
How do you guarantee your patch withstands the elements and daily wear? Start by employing effective sealing techniques to create waterproof seams around the patch.
After applying the patch, use a high-quality sealant specifically designed for vinyl or fabric tonneau covers. Apply it evenly along all patch edges, ensuring complete coverage without gaps. Press firmly to eliminate air pockets that can compromise adhesion.
Let the sealant cure fully, following the manufacturer’s recommended drying time. This forms a durable, waterproof barrier that prevents water infiltration and material degradation.
For added protection, consider heat-sealing or using seam tape compatible with your cover’s material. These methods reinforce the bond and prolong patch longevity, ensuring your repair remains secure under harsh weather and daily use.
Prevent Future Damage to Your Tonneau Cover
Ensuring your patch is sealed effectively markedly extends its lifespan, but maintaining your tonneau cover’s overall durability requires proactive care. To prevent future damage and optimize patch durability, follow these essential steps:
- Clean your cover regularly with mild soap and water to remove debris and prevent abrasion.
- Apply a UV protectant spray to minimize sun damage that can weaken both the cover and patch areas.
- Store the tonneau cover properly during off-seasons; avoid folding it tightly to prevent creases and cracks.
- Inspect seams and patches periodically for wear; address small issues promptly to avoid larger repairs.
Implementing these storage tips and maintenance routines markedly enhances the longevity of your tonneau cover and secures your patch’s effectiveness over time.
Frequently Asked Questions
Can I Patch a Tonneau Cover Without Removing It From the Truck?
Yes, you can patch a tonneau cover without removing it. Ensure proper surface prep by cleaning and drying the area thoroughly before patch application. This will help achieve strong adhesion and durability during use.
How Long Does a Typical Patch on a Tonneau Cover Last?
How long do you expect a patch to hold under daily wear? Typically, patch durability ranges from 6 months to 2 years, depending on materials and conditions.
Proper application ensures optimum repair longevity and sustained cover protection.
Are There Professional Services for Tonneau Cover Repairs?
Yes, you’ll find professional repair services specializing in tonneau cover restoration. These service options include patching, resealing, and hardware replacement, ensuring precise, durable fixes tailored to your cover’s material and damage type.
Will Patching Affect My Tonneau Cover’s Warranty?
Patching your tonneau cover may void the tonneau warranty, depending on the manufacturer’s terms. Be sure to use high-quality materials to ensure patch durability and consult your warranty documentation before proceeding with repairs.
Can I Use Household Glue Instead of Specialized Patch Adhesive?
Don’t put all your eggs in one basket. Household glue lacks the flexibility and waterproof strength of patch adhesive, so it won’t create a durable seal.
For reliable repairs, always choose specialized patch adhesive designed for tonneau covers.
Conclusion
Patching your tonneau cover is like stitching a sail before a storm—proper preparation and sealing keep it strong and watertight. Start by identifying your cover’s material to choose the right patch. Clean the damaged area thoroughly to ensure good adhesion.
Apply the patch carefully, smoothing out any bubbles or wrinkles. Don’t skip sealing the edges to prevent water from seeping in. Regular maintenance is also key to keeping the patch and cover in good condition.
With precision and timely attention, you’ll extend its life and protect your truck bed effectively. Following these steps will help you maintain and improve your tonneau cover’s durability and reliability.