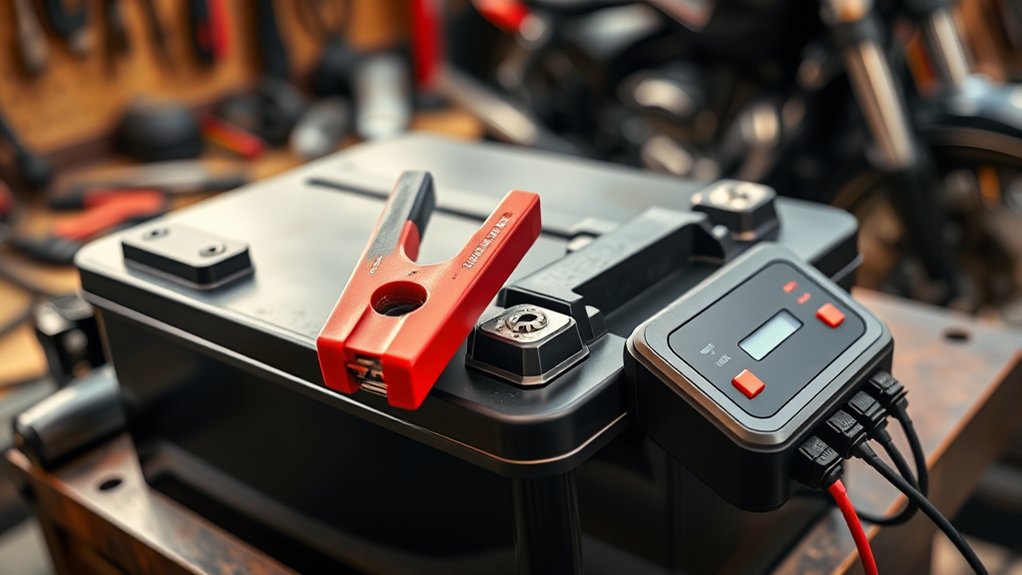
How to Charge Motorcycle Battery With Battery Charger
Just like maintaining the engine keeps your motorcycle running smoothly, charging a motorcycle battery with a battery charger properly ensures reliable starts and optimal performance. You might think it’s a simple task, but using the right charger settings and connections is essential to avoid damage or reduced battery life.
Before you plug in your charger, understanding these key steps can save you time and frustration. Let’s explore what you need to know to do it right.
Key Takeaways
- Remove the battery from the motorcycle and clean terminals using a wire brush to eliminate corrosion before charging.
- Connect the charger’s positive clamp to the battery’s positive terminal and the negative clamp to the negative terminal securely.
- Set the charger to the correct mode and voltage based on the battery type, typically 12V for motorcycle lead-acid batteries.
- Use a smart charger with automatic shutoff and set the charging current to about 10% of the battery’s amp-hour rating.
- Monitor the charging process and disconnect the charger once the battery reaches full charge to avoid overcharging.
How To Tell If Your Motorcycle Battery Needs Charging
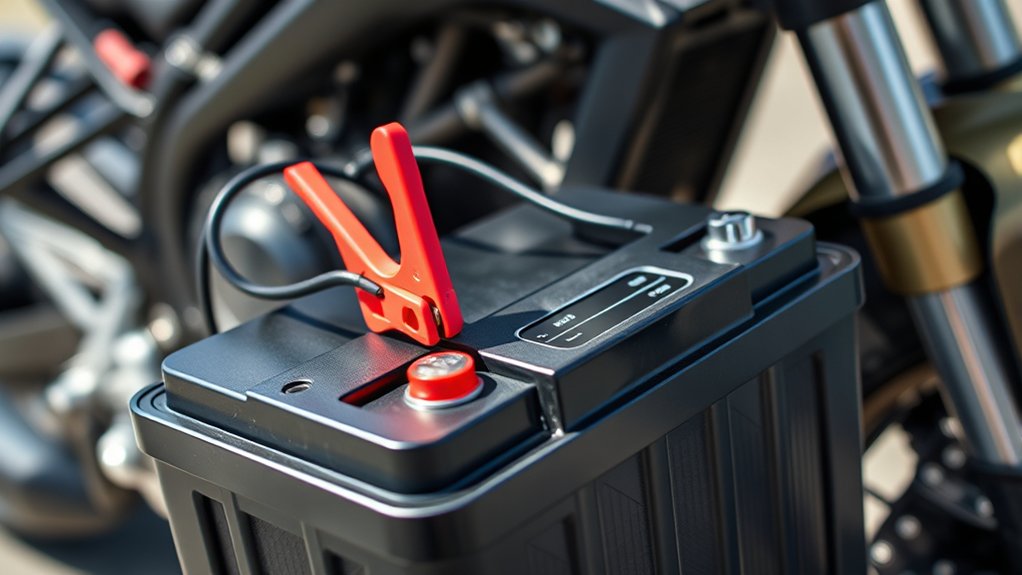
How do you know when your motorcycle battery needs charging? Start by understanding charging basics and battery chemistry. A lead-acid motorcycle battery voltage below 12.4 volts typically signals a low charge. Use a multimeter to check this voltage accurately.
If the battery reads under 12.4 volts, it’s time to recharge. Also, observe the bike’s starting performance. Slow cranking or dim headlights indicate insufficient charge.
Keep in mind that battery chemistry affects charging needs. Lead-acid batteries discharge over time and usage, requiring periodic recharging to maintain optimal performance. Avoid waiting until the battery is completely dead, as deep discharge can shorten battery life.
Regular voltage checks and performance monitoring will help you determine when your motorcycle battery needs charging efficiently.
How To Prepare Your Motorcycle Battery For Charging
Once you’ve identified that your motorcycle battery needs charging, the next step is to prepare it properly to guarantee a safe and effective charging process. Start by removing the battery from the motorcycle, if possible, to avoid electrical shorts.
Clean the terminals using a wire brush to eliminate corrosion, ensuring a solid connection. Always wear protective gloves and eyewear to follow proper charging etiquette and prevent injury.
Avoid common battery myths, such as charging a completely dead battery or overcharging it quickly. Both can damage your battery. Check the battery’s electrolyte level if it’s not sealed; top up with distilled water if necessary.
Finally, connect the charger terminals correctly—positive to positive, negative to negative—to prevent sparks or damage. Proper preparation sets the foundation for efficient, safe charging.
How To Choose The Right Motorcycle Battery Charger
Why does selecting the right motorcycle battery charger matter? Using an incompatible or incorrect capacity charger risks damaging your battery or prolonging charging time. Start by finding compatibility with your battery type, such as lead-acid, AGM, or lithium-ion.
Next, focus on ensuring capacity: the charger’s output amperage should match your battery’s requirements for efficient charging without overloading.
| Factor | Consideration |
|---|---|
| Battery Type | Match charger to battery chemistry |
| Output Amperage | Align with battery capacity |
| Voltage | Typically 12V for motorcycles |
| Charging Modes | Smart chargers offer multiple modes |
| Safety Features | Overcharge and short-circuit protection |
Choosing a charger that fits these criteria ensures safe, efficient charging and extends battery life.
How To Safely Connect The Charger To Your Battery
First, you need to identify the positive and negative terminals on your motorcycle battery. Make sure the charger’s red clamp connects securely to the positive terminal and the black clamp to the negative terminal.
Double-check the connections to prevent sparks or damage during charging.
Identify Battery Terminals
How can you guarantee a safe connection between your battery charger and motorcycle battery? Start by accurately identifying terminals to prevent damage and ensure proper charging. Follow these steps:
- Locate the positive terminal, usually marked with a (+) sign or red cover.
- Find the negative terminal, marked with a (–) sign or black cover.
- Verify battery polarity by consulting the motorcycle manual or battery label.
- Inspect terminals for corrosion or damage that could interfere with the connection.
Identifying terminals correctly is critical to maintain battery health and avoid electrical hazards. Confirming battery polarity ensures you connect the charger leads to the right posts, preventing reverse polarity issues. This technical precision sets the foundation for safe and effective charging.
Secure Charger Connections
Where should you attach your charger leads to guarantee a secure and safe connection? Always connect the positive (red) lead to the battery’s positive terminal first, then attach the negative (black) lead to the negative terminal or a grounded metal part away from the battery. This sequence reduces sparking risks.
Confirm your charger’s inverter compatibility to avoid electrical surges. Follow safety precautions: wear gloves, ensure the charger is off before connecting, and work in a well-ventilated area.
| Step | Lead Color | Connection Point |
|---|---|---|
| 1 | Red | Positive battery terminal |
| 2 | Black | Negative battery terminal or grounded frame |
| 3 | Verify | Charger inverter compatibility |
| 4 | Confirm | Charger off before connecting |
How To Set The Right Charging Mode And Voltage
Why does setting the correct charging mode and voltage matter? It ensures optimal battery health and prevents damage. Using improper settings can overcharge or undercharge your motorcycle battery, reducing its lifespan.
Setting the correct charging mode and voltage protects your motorcycle battery and extends its lifespan.
Follow these steps for proper battery etiquette and charging etiquette:
- Identify your battery type (lead-acid, AGM, gel) to select the compatible charging mode.
- Set the charger voltage according to the battery’s rated voltage, typically 12V for motorcycles.
- Choose a charging current that matches the battery capacity, generally 10% of the amp-hour rating.
- Use automatic or smart chargers with mode detection to avoid manual errors.
How Long Should You Charge A Motorcycle Battery
Determining the right charging duration depends on your motorcycle battery’s capacity and current charge level. Typically, a standard 12V motorcycle battery requires 4 to 8 hours of charging at a slow rate (around 1-2 amps) to reach full capacity.
If you use a faster charger, charging time shortens but risks overheating or damage if not monitored. Always refer to your battery’s specifications for recommended charging times. Avoid overcharging, which reduces battery life.
While exploring topic ideas, remember that discussions unrelated to charging methods, like battery maintenance or storage, don’t affect charging duration. To ensure accuracy, use a charger with an automatic shut-off or monitor voltage and current during charging. This approach optimizes battery health and performance.
How To Charge A Dead Motorcycle Battery Safely
How exactly do you safely charge a dead motorcycle battery without causing damage? First, you need to approach the process with precision to avoid hazards and extend battery life. Follow these steps:
- Disconnect the battery from the motorcycle to prevent electrical shorts.
- Use a charger designed for motorcycle batteries, selecting the correct voltage and amperage.
- Connect the charger clamps properly: positive to positive, negative to negative to ensure jump starting safety.
- Charge the battery slowly at a low amperage setting to avoid overheating or overcharging.
How To Troubleshoot Motorcycle Battery Charging Problems
If your motorcycle battery isn’t charging properly, you’ll need to identify common issues like faulty connections or a bad charger. Start by checking the charger’s output and inspecting the battery terminals for corrosion.
Follow a systematic diagnostic process to pinpoint and resolve the problem efficiently.
Common Charging Issues
When your motorcycle battery doesn’t charge properly, several common issues could be causing the problem. Identifying these can save you time and effort. Here are four main causes to consider:
- Poor Connections Loose or corroded terminals interrupt current flow, preventing effective charging.
- Faulty Charger A malfunctioning charger won’t deliver the correct voltage or current.
- Battery Age Old batteries lose capacity and may not hold charge despite proper charging.
- Incorrect Settings Using wrong charger settings or incompatible chargers leads to ineffective charging or damage.
Avoid confusing these with unrelated topics like engine or fuel system problems. Stick to these two word ideas—connections and charger—to troubleshoot efficiently without mixing unrelated issues.
Identifying these common charging issues helps you focus on what truly impacts battery performance.
Diagnostic Steps
Although diagnosing motorcycle battery charging problems can seem complex, following a systematic approach helps pinpoint the issue quickly. Start by checking the battery health using a multimeter; voltage below 12.4 volts indicates a weak battery.
Next, inspect the battery terminals and cables for corrosion or loose connections, as these can hinder charging. Then, verify the charger’s output voltage matches the battery’s specifications.
Proceed to test the charging system by measuring the voltage across the battery terminals with the engine running. Expect around 13.5 to 14.5 volts. If readings fall outside this range, the regulator or stator might be faulty.
Finally, review the diagnostic steps by repeating measurements after cleaning and tightening connections. This methodical process ensures you accurately identify and resolve charging issues.
When To Replace Your Motorcycle Battery?
A motorcycle battery loses its ability to hold a charge over time, affecting performance and reliability. Knowing when to replace it is essential to avoid unexpected failures. Despite common battery myths, regular checks help you decide the right time to swap it.
Consider these key indicators:
- Your battery fails to hold a charge after multiple charging attempts.
- You notice visible corrosion or damage on battery terminals or casing.
- The motorcycle struggles to start despite a fully charged battery.
- The battery is beyond its typical lifespan, usually 2 to 4 years depending on usage.
How To Store Your Motorcycle Battery During Off-Season
Before storing your motorcycle battery for the off-season, make sure you clean the terminals and check the electrolyte levels.
Store the battery in a cool, dry place away from direct sunlight and extreme temperatures to prevent damage. Regularly inspect and charge the battery to maintain its health during storage.
Cleaning And Maintenance
Regularly cleaning and maintaining your motorcycle battery during the off-season ensures ideal performance and longevity. To keep it in top shape, follow these steps:
- Disconnect the battery terminals, starting with the negative to maintain battery safety.
- Clean terminals and connectors with a mixture of baking soda and water to neutralize acid buildup.
- Inspect the battery case for cracks or leaks; adhere to proper disposal guidelines if damaged.
- Apply a thin layer of dielectric grease on terminals to prevent corrosion.
Perform these tasks monthly during storage. Avoid using harsh chemicals or metal brushes that can damage terminals. Maintaining cleanliness and safety minimizes risks and extends battery life, ensuring your bike starts reliably when the season returns.
Proper Storage Conditions
Maintaining a clean battery sets the foundation for proper off-season storage. Before storing, fully charge the battery and disconnect it from the motorcycle.
Use recommended storage techniques: keep it in a cool, dry place away from direct sunlight and extreme temperatures. Store the battery on a non-conductive surface to prevent discharge.
Check the battery monthly and recharge if voltage drops below 12.4V. Avoid letting the battery freeze or overheat, as this shortens its lifespan.
When the battery reaches end-of-life, follow local battery disposal regulations to prevent environmental harm.
| Storage Condition | Recommendation |
|---|---|
| Temperature | 50°F to 77°F (10°C to 25°C) |
| Humidity | Low, well-ventilated area |
| Placement | Non-conductive, stable surface |
Frequently Asked Questions
Can I Charge My Motorcycle Battery With a Car Battery Charger?
You can charge your motorcycle battery with a car battery charger if the charger matches your battery’s voltage and amperage. Always check battery compatibility and follow charger safety guidelines to avoid damage or hazards during charging.
Is It Safe to Charge a Lithium Motorcycle Battery With a Standard Charger?
Though standard chargers are common, they often lack lithium safety features. You shouldn’t use them without ensuring charger compatibility.
Lithium batteries require precise voltage and current control to prevent damage or hazards during charging.
How Often Should I Charge My Motorcycle Battery During Regular Use?
You should charge your motorcycle battery every 1-2 months during regular use to maintain optimal battery maintenance. Consistent charging habits prevent discharge, extend battery life, and ensure reliable starts, especially if you don’t ride frequently or in cold conditions.
Can Charging the Battery Improve Motorcycle Performance?
You won’t suddenly zoom like a superhero by charging, but proper charging safety and impedance tests keep your battery healthy. That steady power flow ensures your motorcycle runs reliably, avoiding sluggish starts and electrical hiccups.
What Are the Signs of a Faulty Battery Charger?
You’ll notice faulty indicators like inconsistent charging, overheating, or no power. Check charger compatibility carefully, as using the wrong charger can cause these issues.
If it’s unresponsive or sparks, it’s likely faulty and unsafe.
Conclusion
Charging your motorcycle battery isn’t rocket science, but it demands precision and care. By prepping terminals, choosing the right charger, and setting proper voltage, you’ll keep your battery humming like a well-oiled machine.
Always monitor the charge to avoid overcharging, and don’t hesitate to troubleshoot or replace when needed. Follow these steps, and your bike will be ready to roar every time you turn the key.
Using a battery charger correctly is essential for maintaining your motorcycle’s performance. With proper technique, charging your motorcycle battery with a battery charger ensures a reliable start every ride.