How to Remove Oil Filter
When you remove an oil filter, precision and preparation are key to avoiding mess and damage. Removing an oil filter requires the right tools and a safe workspace before starting.
The process involves loosening the filter properly to prevent spills and inspecting components for wear or debris. Understanding these steps ensures a smooth job and protects your engine.
There are common pitfalls you’ll want to watch out for to keep everything running efficiently. Following the correct method helps maintain engine health and avoids costly repairs.
Key Takeaways
- Park on a level surface, cool the engine for 30 minutes, and remove any obstacles blocking oil filter access.
- Use the correct oil filter wrench size to loosen the filter by turning it counterclockwise with steady pressure.
- Place a catch pan beneath the filter to collect residual oil and wear gloves and safety glasses for protection.
- Remove the oil filter by hand, keeping it upright to avoid spills, and inspect the filter and housing for damage.
- Dispose of the used filter safely at a certified recycling center or automotive shop following local regulations.
Tools Needed to Remove an Oil Filter
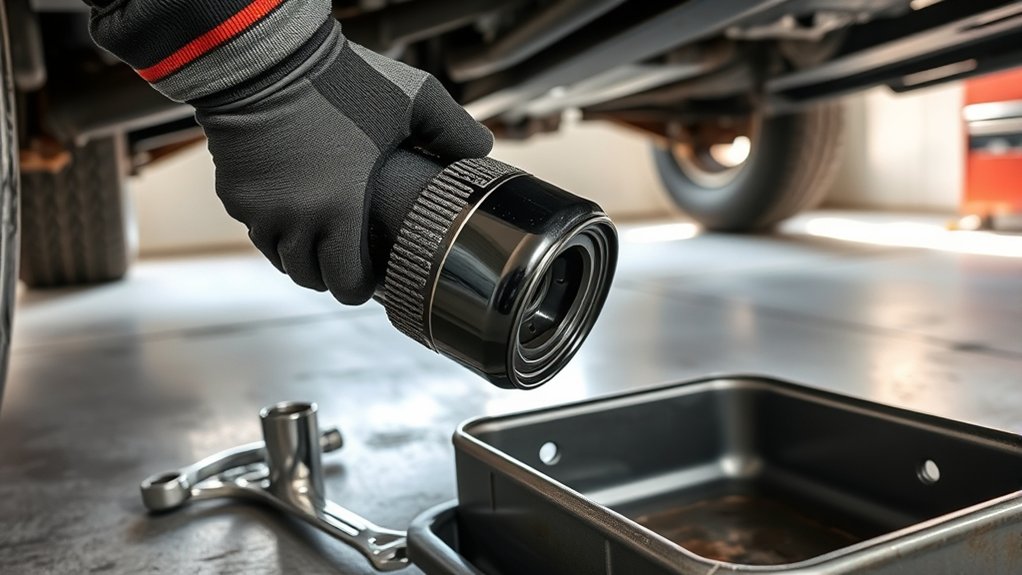
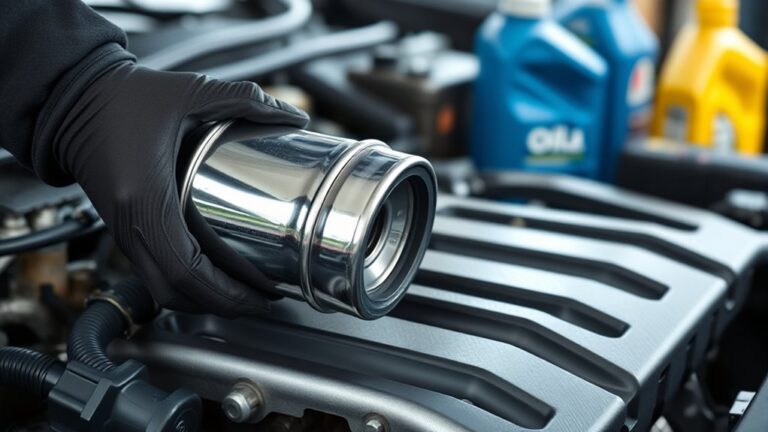
Successfully removing an oil filter requires the right tools to guarantee efficiency and safety. You’ll need an oil filter wrench that matches your vehicle’s filter size to ensure proper grip and avoid damage.
Properly removing an oil filter demands the correct wrench size for a secure, damage-free grip.
Before starting, verify filter compatibility; using tools designed for your specific filter model prevents slippage and reduces removal difficulty. Have a catch pan ready to collect residual oil during removal.
Gloves and safety glasses meet inspection requirements by protecting you from oil spills and debris. A clean rag helps maintain a clear workspace and allows for quick inspection of the filter housing once removed.
Using these precise tools aligned with inspection requirements ensures a smooth, safe removal process while maintaining the integrity of both your vehicle and the replacement filter.
Preparing Your Car for Oil Filter Removal
How do you ensure a safe and efficient oil filter removal? Start by parking your car on a level surface and engaging the parking brake to prevent movement. Allow the engine to cool for at least 30 minutes; hot oil can cause burns during the oil change.
Gather your tools and place an oil catch pan beneath the filter area to collect any drips. Next, remove any obstacles blocking access to the oil filter, such as splash guards or undercarriage panels. Use gloves to protect your hands from oil and grime.
Proper preparation reduces spills and streamlines filter maintenance, ensuring you can proceed without interruption. Taking these steps sets the foundation for a smooth, safe oil filter removal process.
How to Remove the Oil Filter Step-by-Step
First, set up your workspace to catch any oil spills and have tools ready.
Next, loosen the oil filter carefully using the appropriate wrench.
Finally, remove the filter by hand and inspect it for any damage or debris.
Prepare Your Workspace
Where should you start when removing an oil filter? Begin by preparing your workspace to ensure efficiency and safety during oil changes and filter maintenance. Position your vehicle on a level surface and secure it with wheel chocks.
Use jack stands if you need to elevate the car, never relying solely on a jack. Lay down absorbent mats or old newspapers to catch any oil spills, preventing contamination and simplifying cleanup.
Gather all necessary tools, such as an oil filter wrench, drain pan, gloves, and rags, within easy reach to streamline the process. Adequate lighting is essential; use portable work lights to clearly see the filter and surrounding components.
Proper preparation minimizes risks, prevents messes, and guarantees a smooth, precise removal of the oil filter.
Loosen The Oil Filter
When should you apply force to loosen the oil filter? Only after confirming the oil filter is cool and accessible. Use a proper oil filter wrench to grip the filter securely.
Turn counterclockwise, applying steady pressure to prevent damage. Excessive force might cause leaks or breakage, complicating removal.
Watch for replacement indicators like oil seepage or a tight grip signaling the filter’s lifespan is ending.
| Emotion | Reason |
|---|---|
| Frustration | Stuck or overtightened filter |
| Confidence | Using the right tool |
| Relief | Filter loosens smoothly |
| Caution | Avoid stripping threads |
| Satisfaction | Successful oil filter removal |
Applying controlled force ensures safe, efficient loosening, minimizing risk and preparing you for the next step.
Remove And Inspect Filter
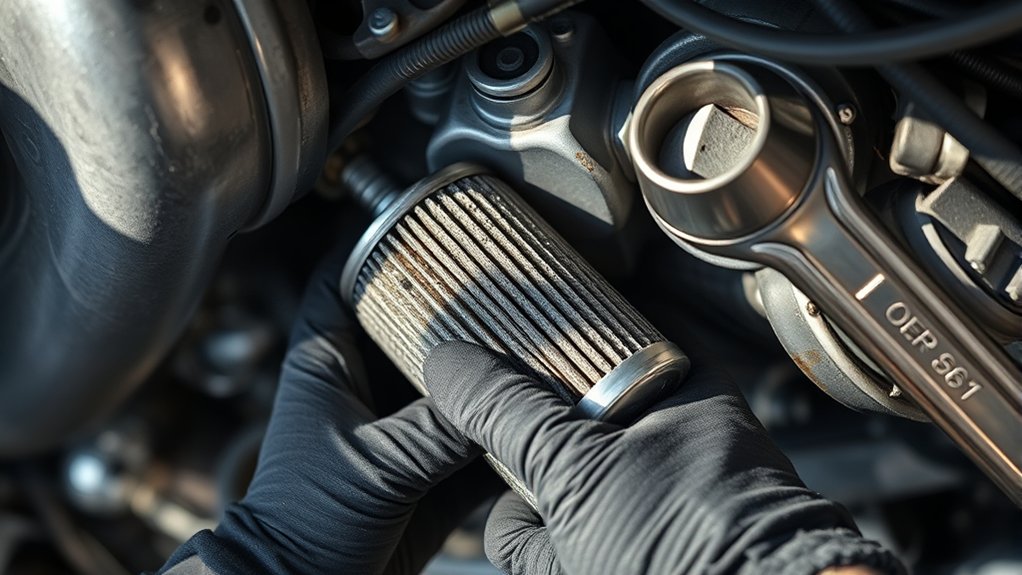
Once you’ve loosened the oil filter, carefully unscrew it by hand, keeping it upright to prevent oil spillage. Place absorbent materials, like shop towels or rags, beneath the filter to catch any residual oil.
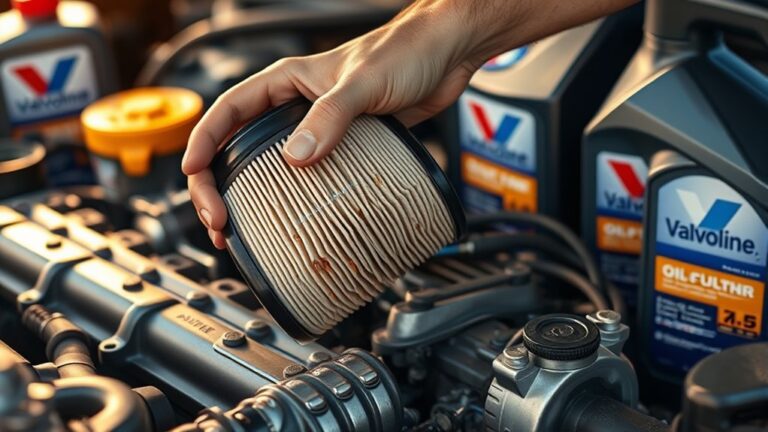
After removal, inspect the filter’s rubber gasket for damage or remnants on the engine mount; a damaged gasket can cause leaks. Check the filter body for dents or excessive wear, indicating it might have failed to perform correctly.
Dispose of the used filter according to local regulations. Most auto parts stores offer proper filter disposal services. Avoid discarding the filter in regular trash due to hazardous oil residue.
Using absorbent materials during this process minimizes environmental contamination and keeps your workspace clean, ensuring a safer, more efficient oil change.
Tips for Loosening Stubborn Oil Filters
If you’re struggling to break loose a stubborn oil filter, applying steady, controlled force is key. Start with a proper techniques overview: use a quality oil filter wrench that fits snugly to prevent slipping. Avoid common pitfalls like using excessive force, which can damage the filter or housing.
If the filter is corroded or seized, try applying penetrating oil around the base, allowing it to soak for several minutes before attempting removal again. Another effective method involves gently tapping the filter with a rubber mallet to break the seal.
Always turn counterclockwise, and avoid sudden jerks to minimize risk. Following these tips ensures efficient removal without damaging components or creating additional headaches during your oil change.
Avoiding Spills When Removing the Oil Filter
Before you remove the oil filter, position a catch basin underneath to collect any dripping oil. Make sure you wear gloves and protective eyewear to prevent contact with hot oil.
These steps help you control spills and stay safe during the process.
Prepare Catch Basin
How do you prevent oil spills while removing the filter? Start by positioning a catch basin directly beneath the oil filter to collect any draining oil. Choose a basin with adequate capacity to handle the volume released when loosening the oil filter.
Ensure the basin’s opening fully covers the filter’s base to avoid splashes. Before removal, check that the catch basin is clean and free from debris that might contaminate waste disposal. Use a drip tray if necessary to catch residual drops.
After loosening the filter, allow oil to drain completely into the basin before fully unscrewing the oil filter. Proper preparation of the catch basin minimizes spills and simplifies cleanup, ensuring compliance with environmental standards for waste disposal of used oil and filters.
Use Protective Gear
Wearing appropriate protective gear is essential to prevent oil spills and skin contact while removing the oil filter. You’ll minimize contamination and ensure safe oil filter disposal by following these steps:
- Gloves: Use nitrile or latex gloves to protect your hands from hot oil and chemicals. They provide a barrier that prevents skin irritation and contamination.
- Eye Protection: Safety goggles shield your eyes from oil splashes during filter removal, reducing injury risks.
- Protective Clothing: Wear long sleeves and coveralls to prevent oil stains and skin exposure. Disposable coveralls are ideal for easy cleanup.
Disposing of Your Old Oil Filter Responsibly
Why should you dispose of your old oil filter responsibly? During oil changes, used filters contain residual oil that can harm the environment if improperly discarded. Proper filter disposal prevents soil and water contamination, aligning with environmental regulations.
After removal, drain the filter thoroughly to eliminate excess oil. Store it in a sealed container to avoid leaks during transport. Locate a certified recycling center or automotive shop that accepts used oil filters for safe processing.
Never discard filters in regular trash bins or dump them on the ground. Following these steps ensures compliance with local laws and promotes environmental safety. Responsible disposal protects ecosystems and supports sustainable automotive maintenance practices.
Always prioritize proper handling after oil changes to maintain both vehicle performance and ecological integrity.
Inspecting and Replacing Your Oil Filter
Maintaining optimal engine performance depends on regularly inspecting and replacing your oil filter. When inspecting oil filter condition, check for dents, leaks, and clogging. Follow these replacing recommendations to ensure efficiency:
- Visual Inspection: Examine the filter housing and gasket for damage or oil residue indicating leaks.
- Mileage Check: Replace the filter based on your vehicle manufacturer’s recommended interval, typically every 3,000 to 7,500 miles.
- Proper Installation: Use a new gasket and apply a light oil coat before screwing on the replacement filter to ensure a tight seal.
Adhering to these steps maintains filtration integrity, prevents contaminants from circulating, and prolongs engine life. Always consult your vehicle’s manual for specific replacing recommendations to avoid premature wear or engine damage.
Common Mistakes to Avoid When Removing an Oil Filter
How can you assure a smooth oil filter removal without causing damage or spills? First, avoid common missteps like attempting removal when the engine is hot, which risks burns and oil splatter.
Use the correct oil filter wrench size to prevent crushing the filter, and always loosen it slowly to control oil drainage. Overlooking safety reminders such as wearing gloves and eye protection increases injury risk.
Don’t forget to position a drain pan beneath the filter to catch residual oil and avoid spills. Another frequent error is neglecting to check the old filter’s gasket, which can stick and cause leaks if not removed properly.
Following these advice missteps will ensure safe, clean, and efficient oil filter removal every time.
Frequently Asked Questions
How Often Should I Change My Oil Filter?
You should change your oil filter every time you perform an oil change, typically every 3,000 to 7,500 miles. Regular filter maintenance ensures ideal engine performance and prevents contaminants from circulating through your engine oil.
Can I Reuse an Old Oil Filter?
You shouldn’t put all your eggs in one basket by reusing filters, as it risks engine damage. Proper filter recycling is better; old filters lose efficiency and can’t trap contaminants effectively after use.
What Type of Oil Filter Is Best for My Car?
You should choose an oil filter that matches your engine compatibility and uses high-quality filter material, like synthetic fiber, for optimal performance. Check manufacturer specifications to guarantee proper fit and filtration efficiency tailored to your vehicle’s needs.
Will Removing the Oil Filter Affect My Car’s Warranty?
About 70% of warranty claims aren’t denied over routine maintenance like oil filter changes. You won’t void your warranty if you follow manufacturer guidelines.
Understanding how warranty works helps avoid oil filter implications affecting coverage.
How Do I Know if My Oil Filter Is Clogged?
You’ll notice engine disharmony, reduced oil pressure, or misalignment in performance when your oil filter clogs.
Check for these signs using a pressure gauge or diagnostic tool to confirm the filter’s condition precisely.
Conclusion
Removing your oil filter might seem like a monumental task, but with the right tools and precautions, it’s straightforward and safe. Always prepare your workspace meticulously, use the correct wrench, and handle the filter carefully to avoid spills.
Inspect everything thoroughly and dispose of the old filter responsibly to protect the environment.
By following these precise steps, you’ll guarantee peak engine performance and avoid costly mistakes that could turn a simple job into an engine disaster. Removing your oil filter properly is essential for maintaining your vehicle’s health and efficiency.